Our Course
Explore our course below going hole by hole
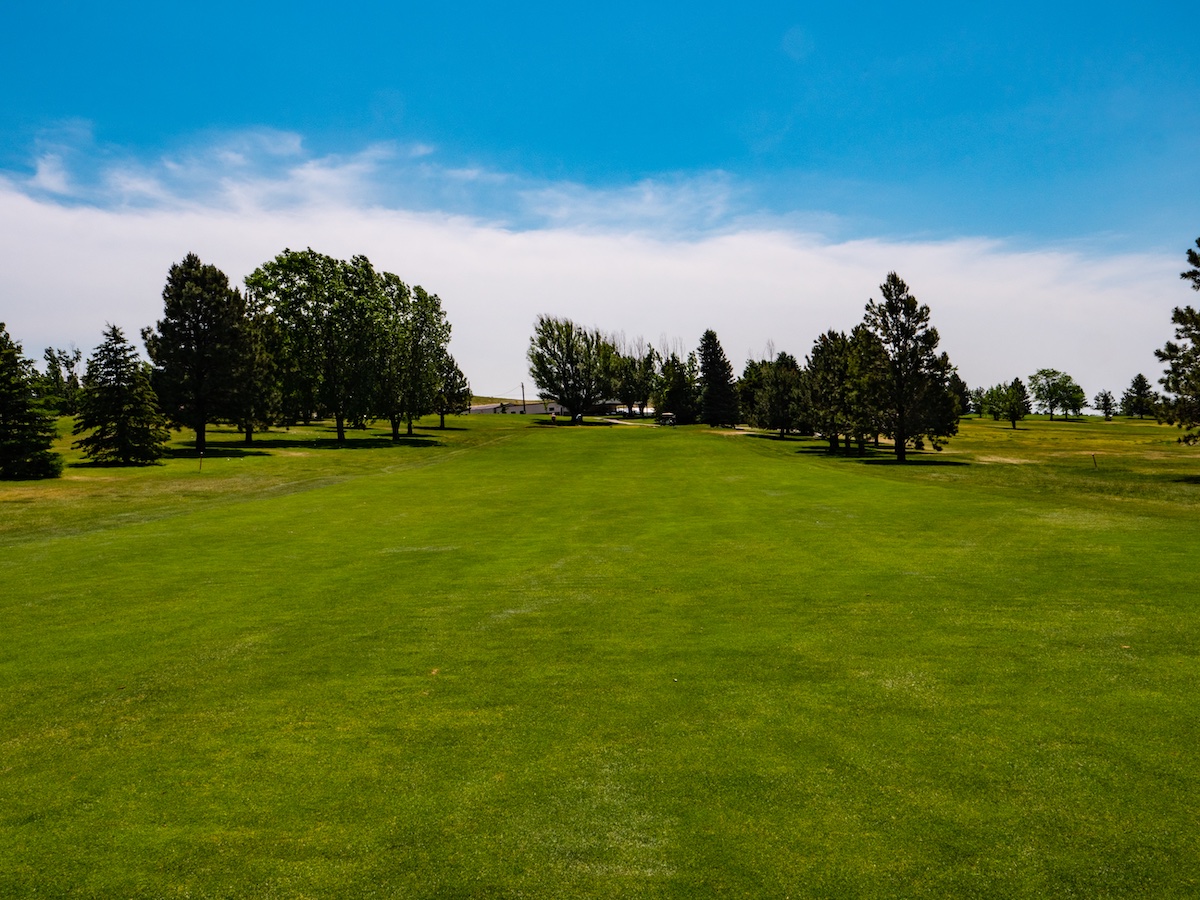
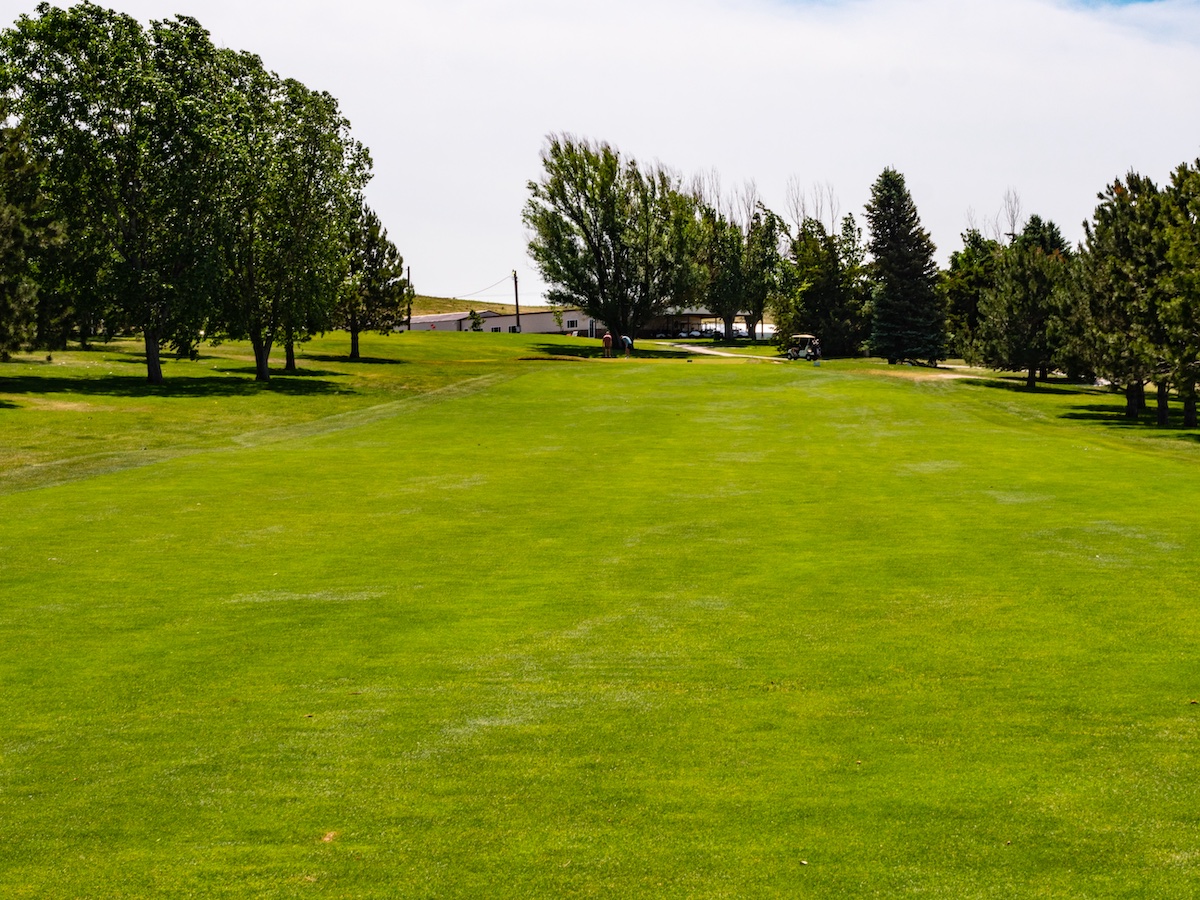
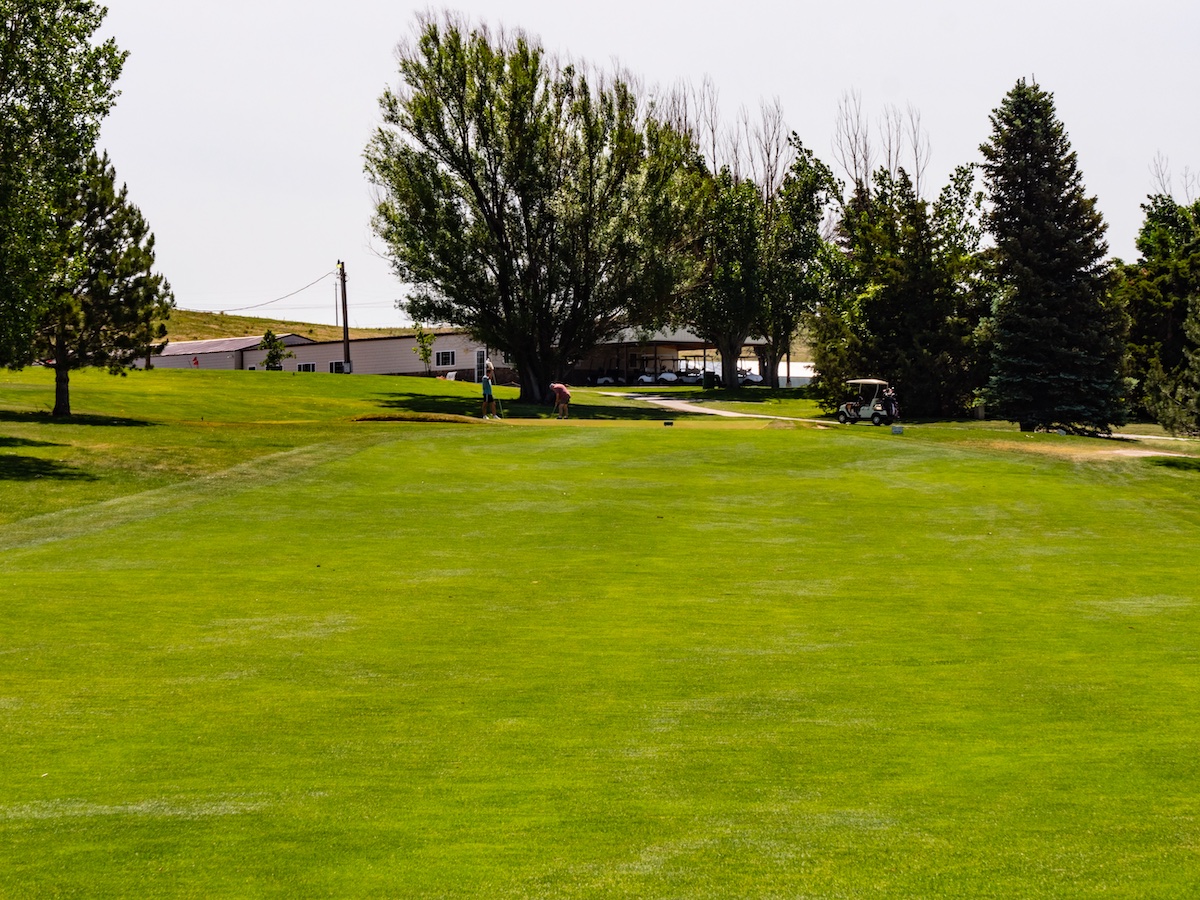
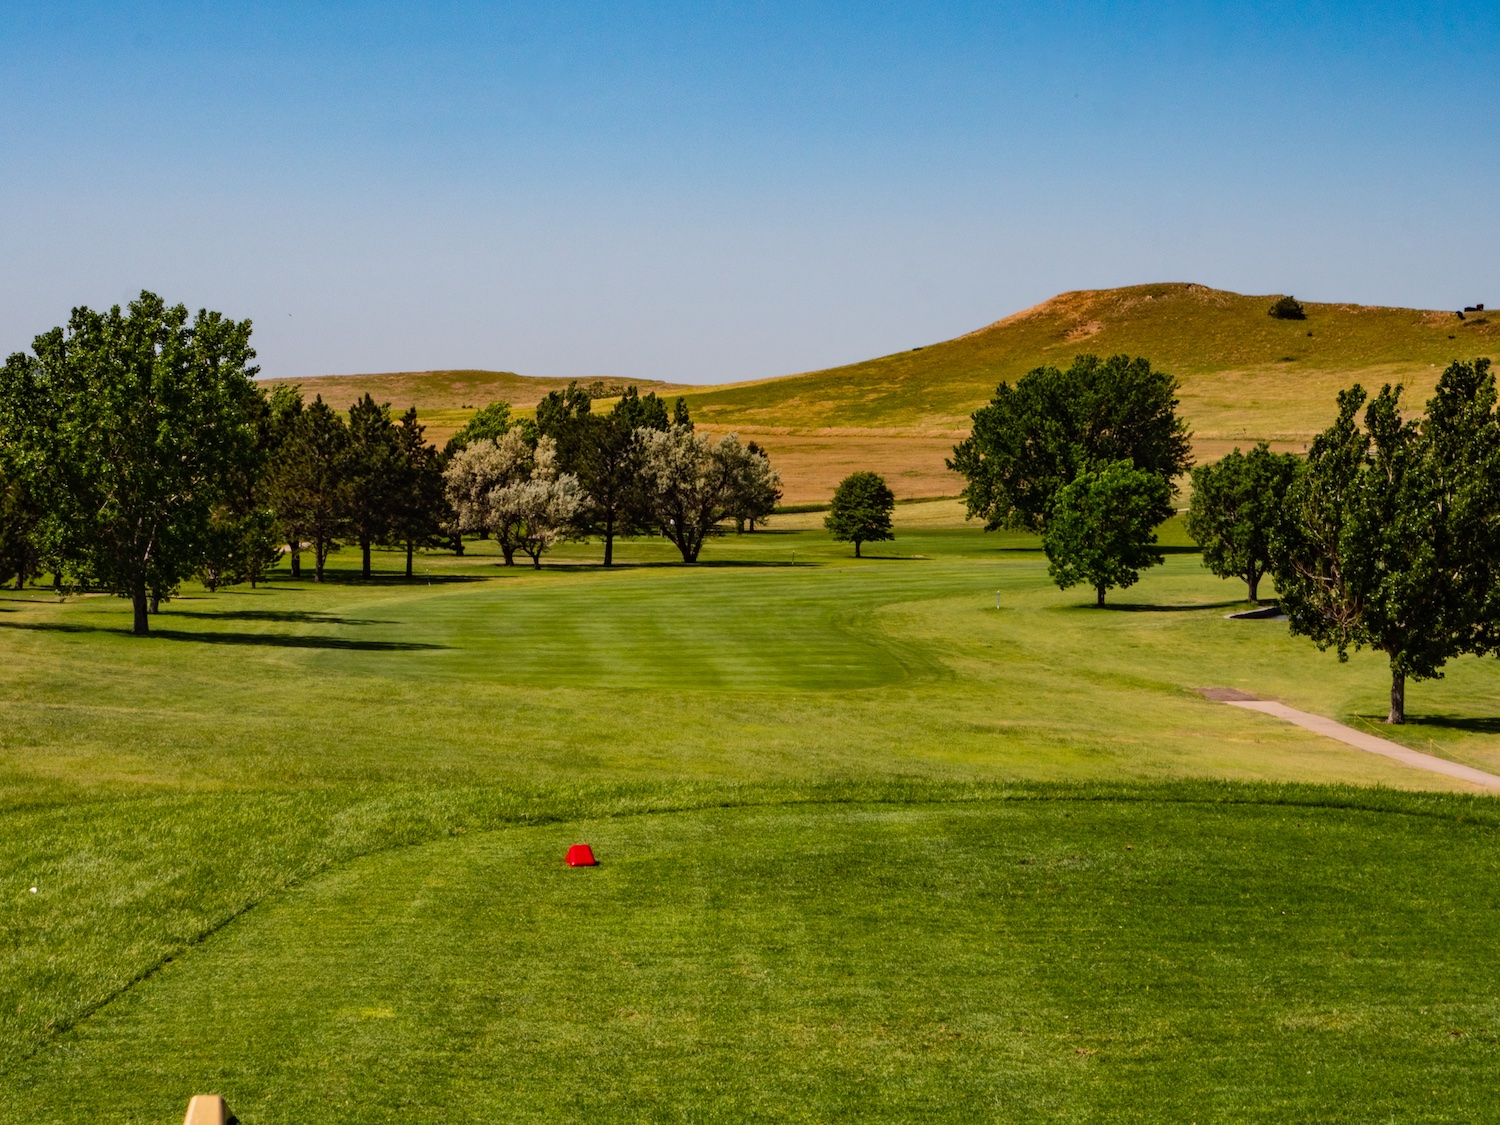
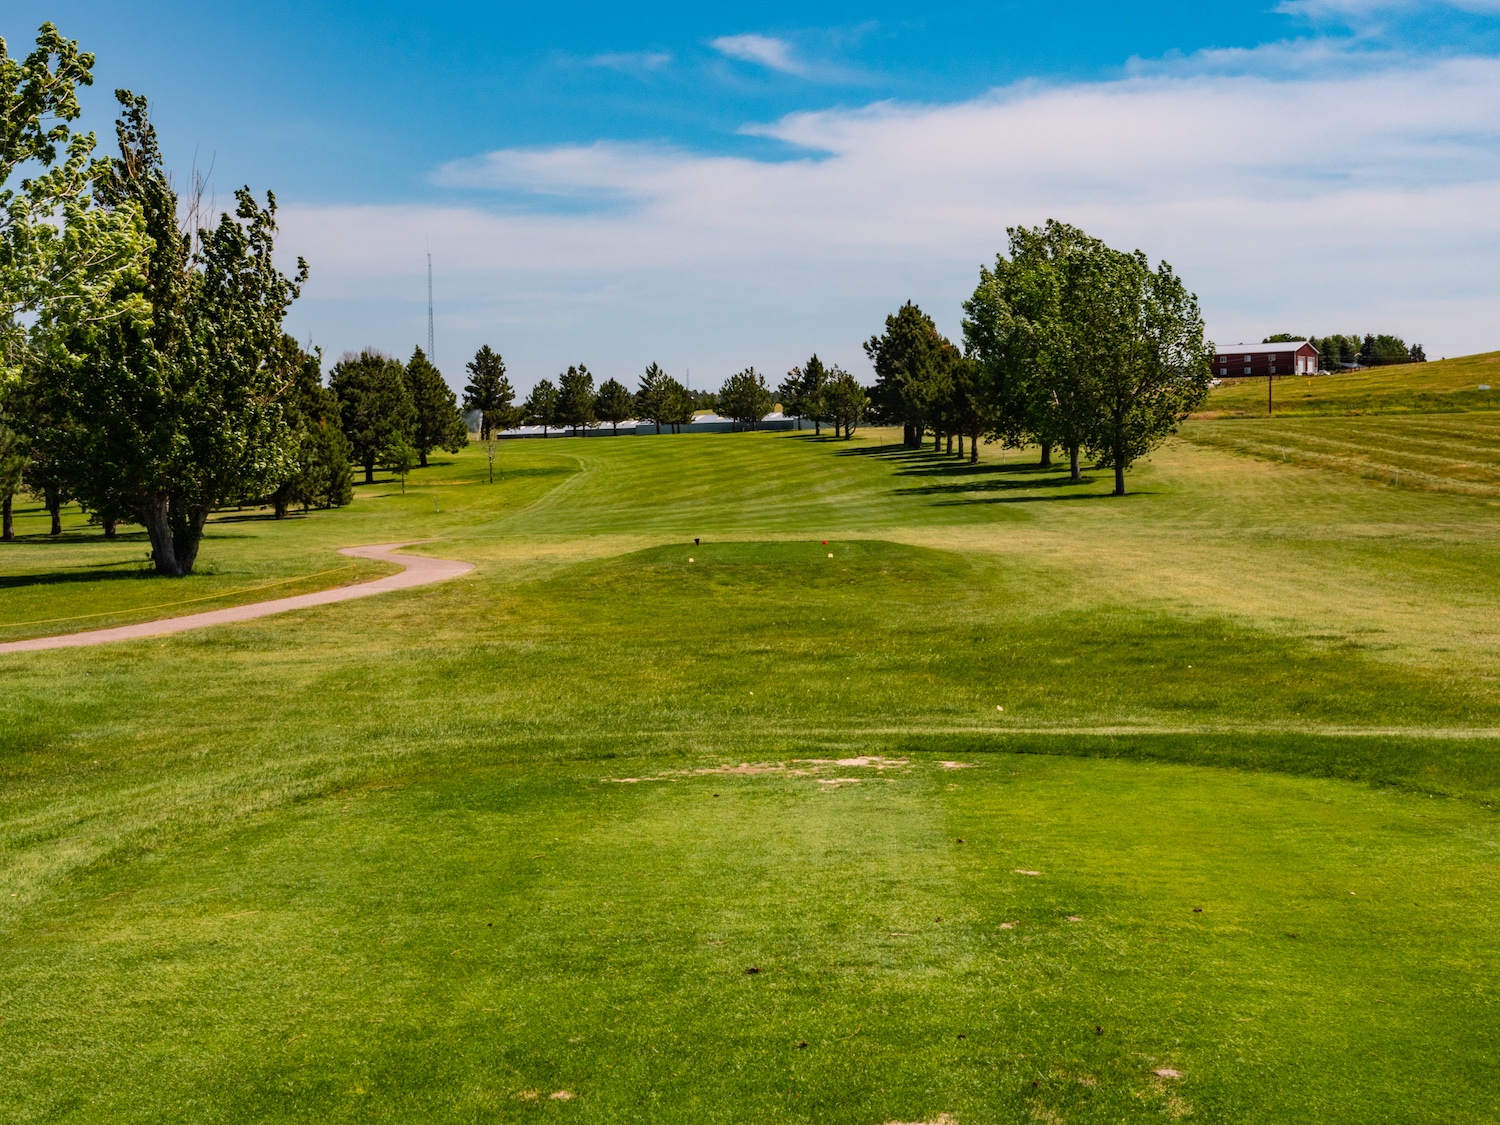
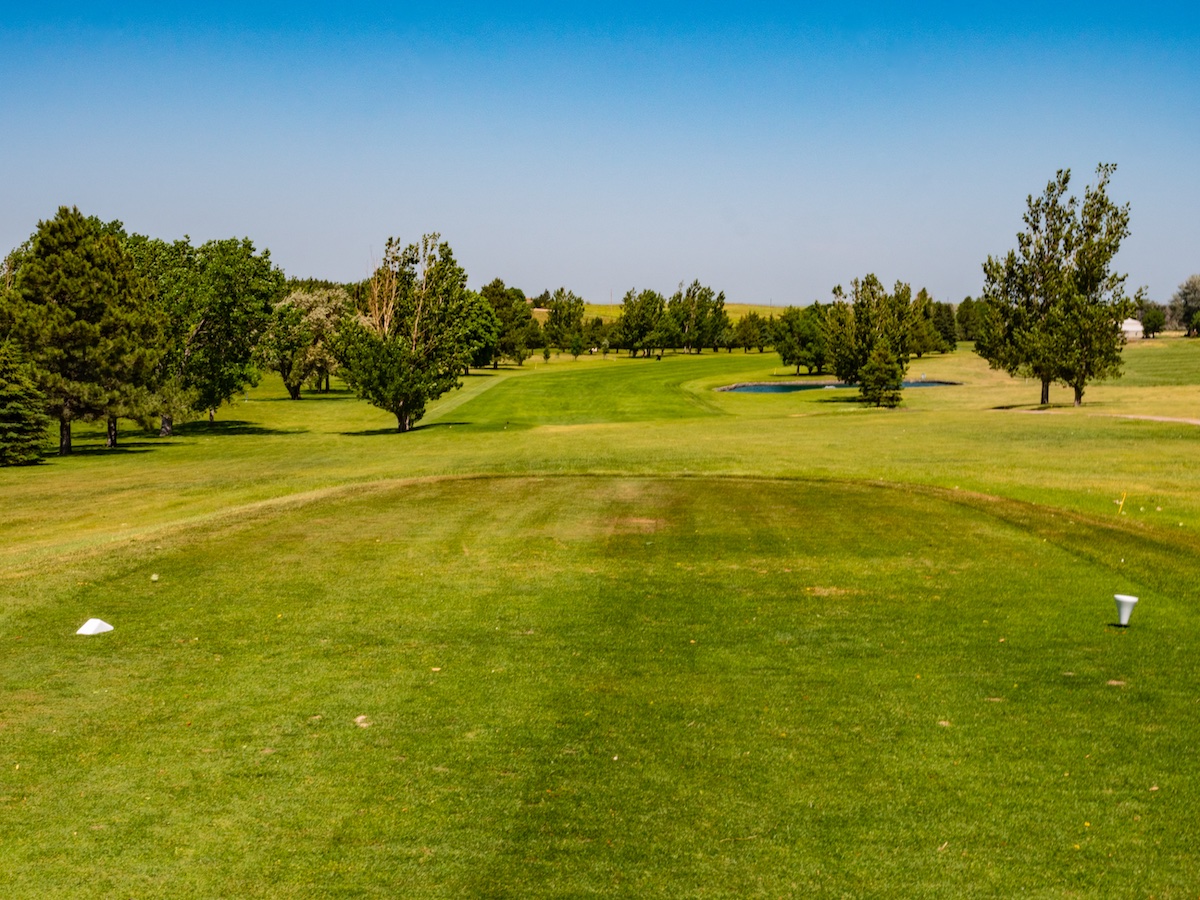
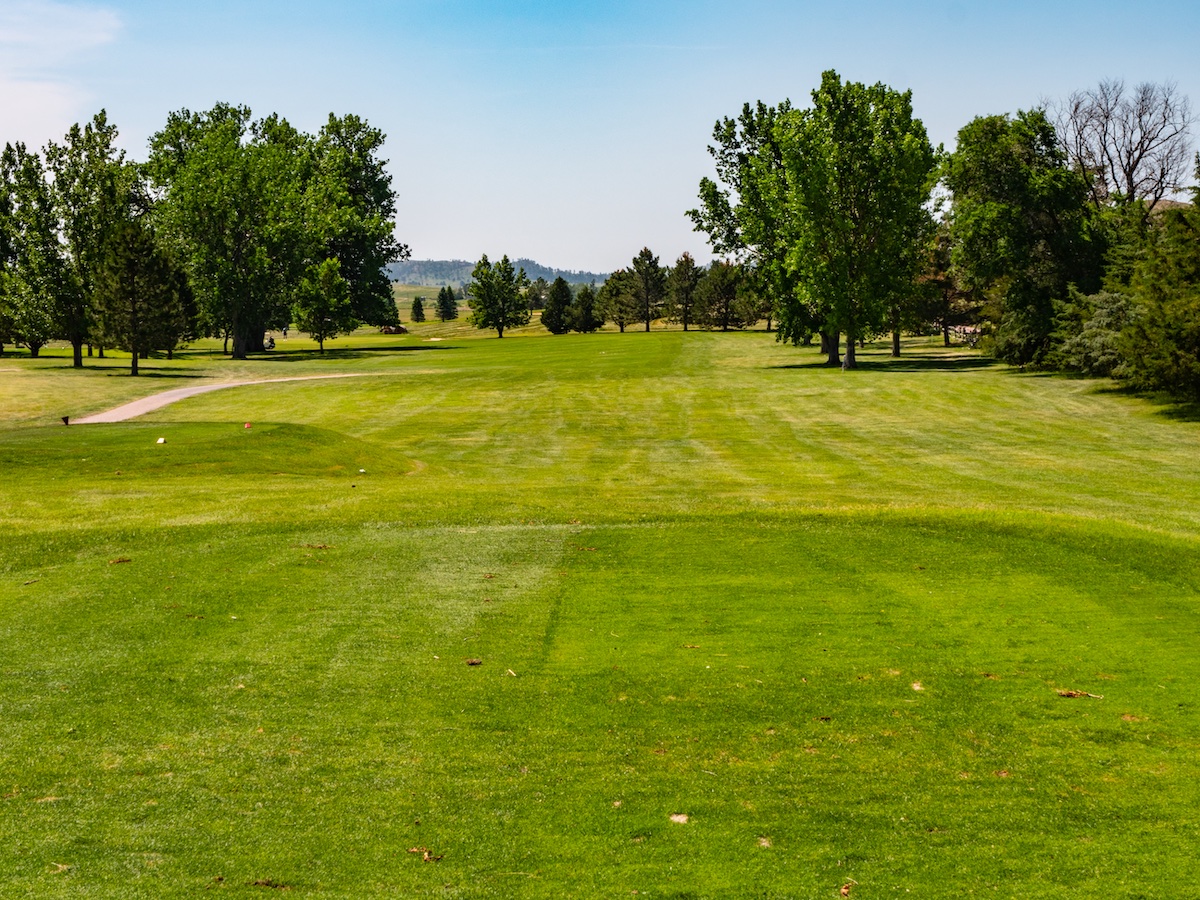
Hole #1
Hole 1 is a 410 yard par 4 with a slight dog leg right. This elevated green is surrounded by two shallow sand traps that offer a good amount of challenge while allowing some great approaches.
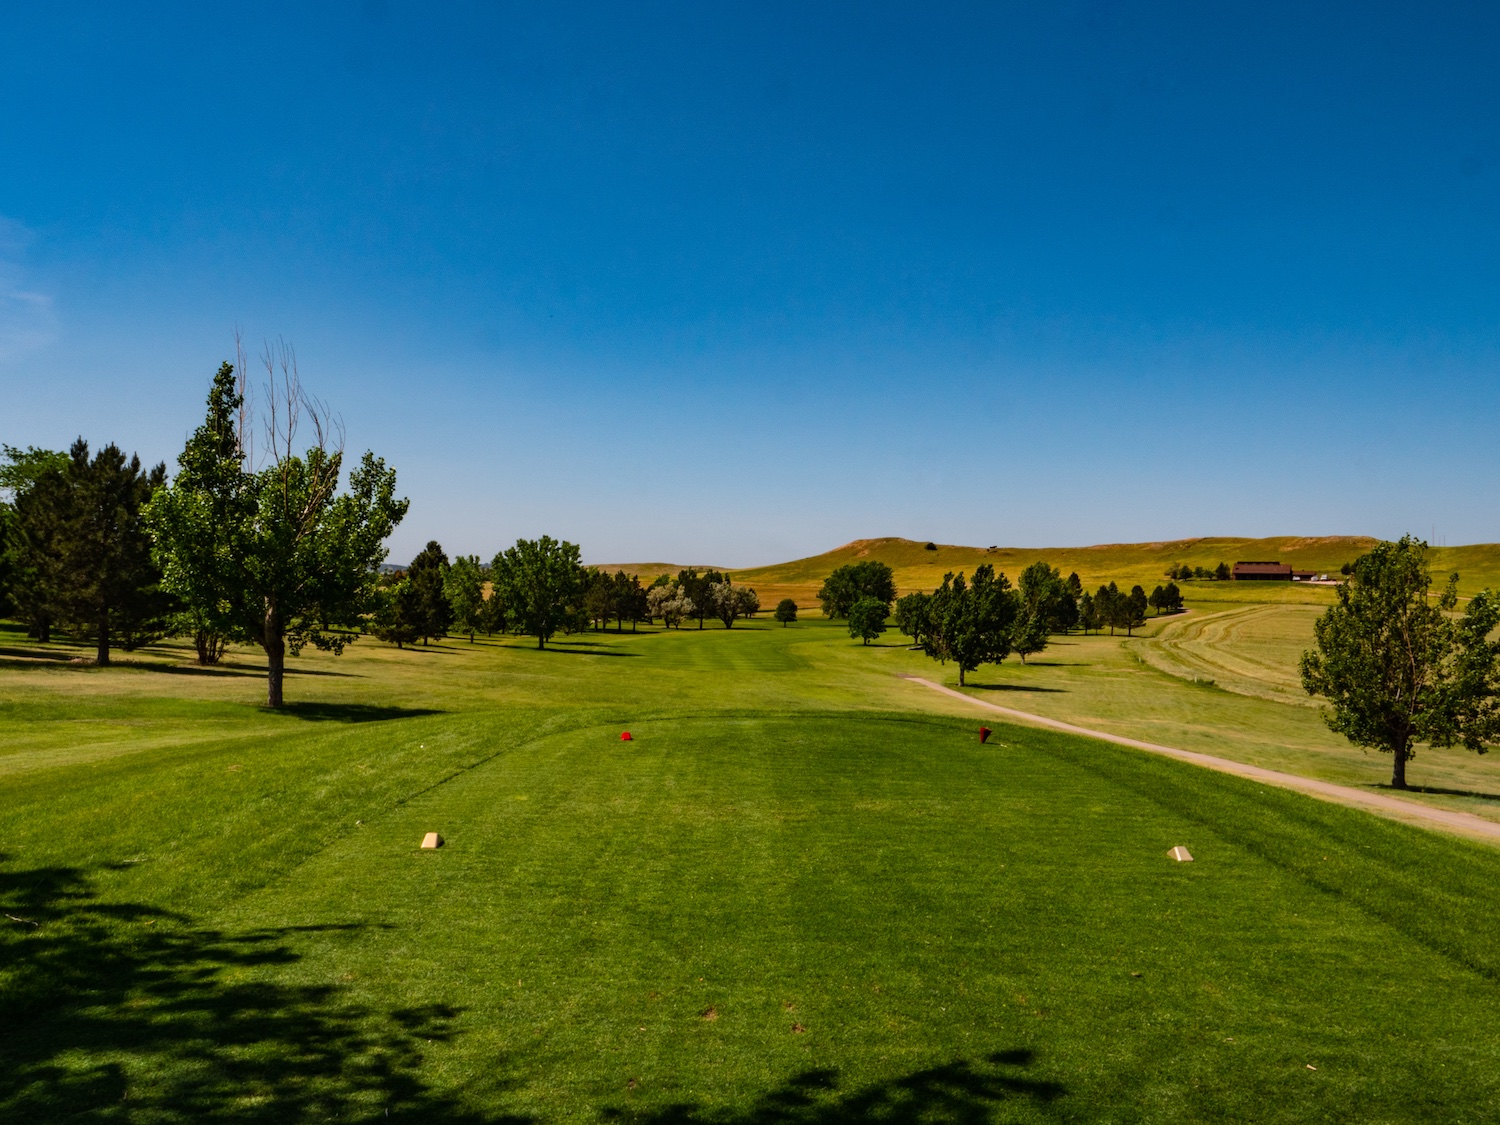
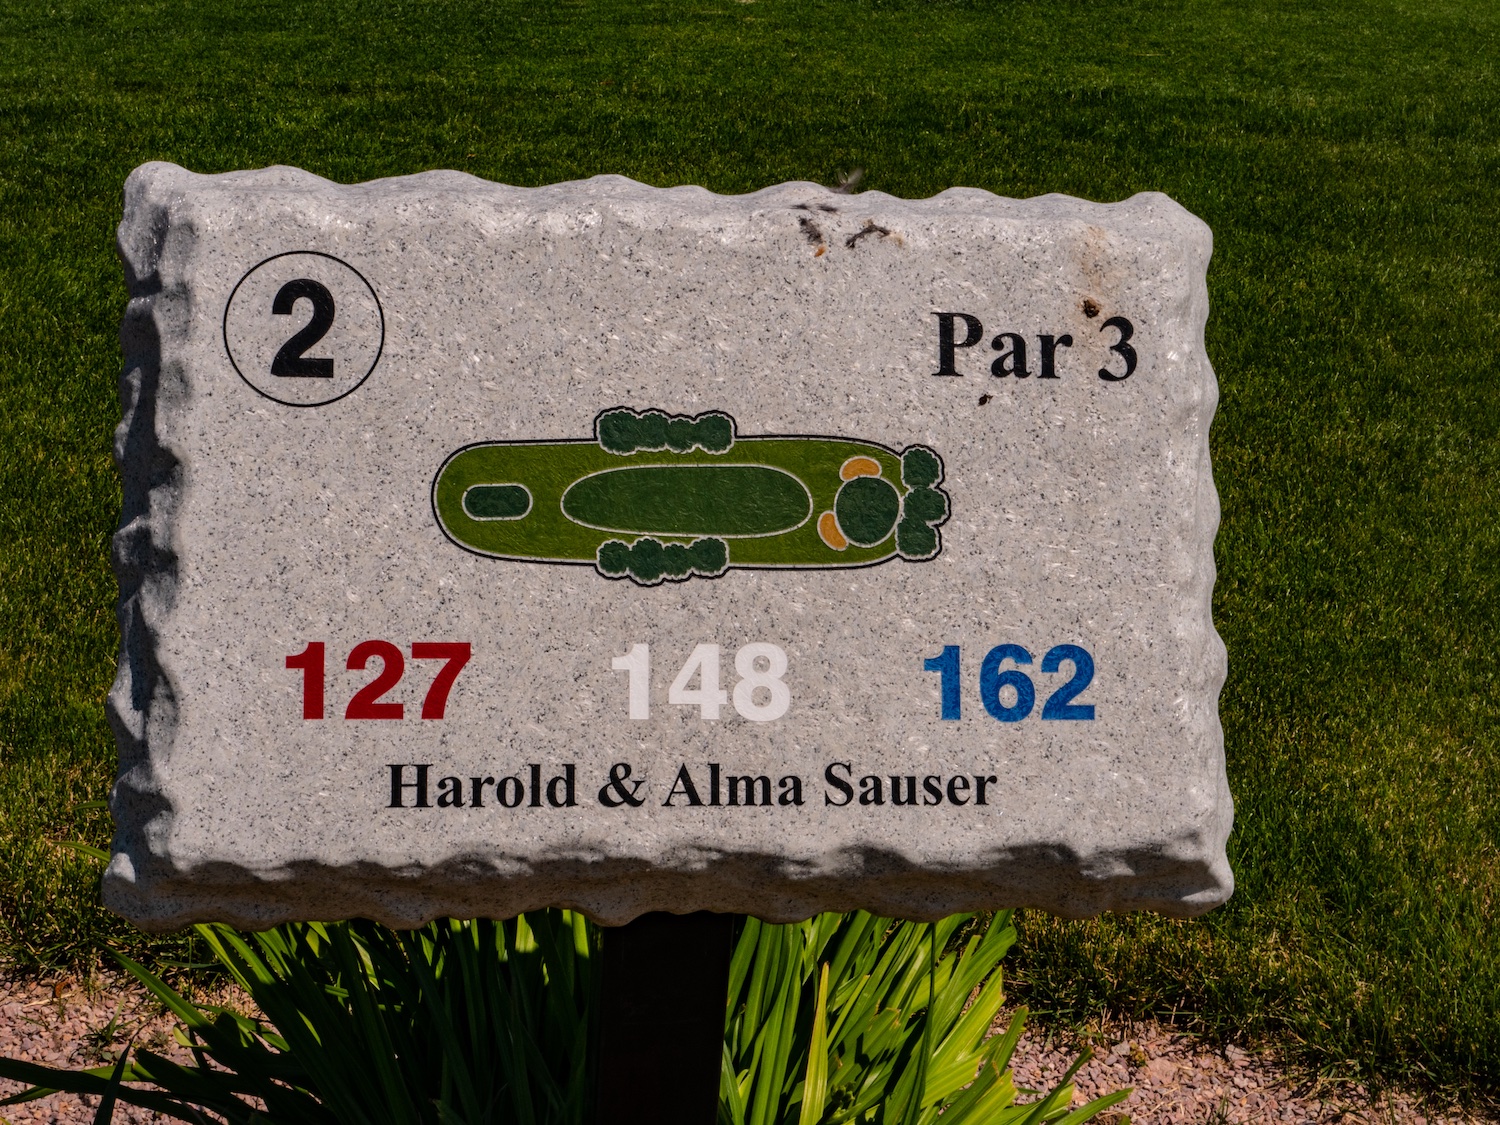
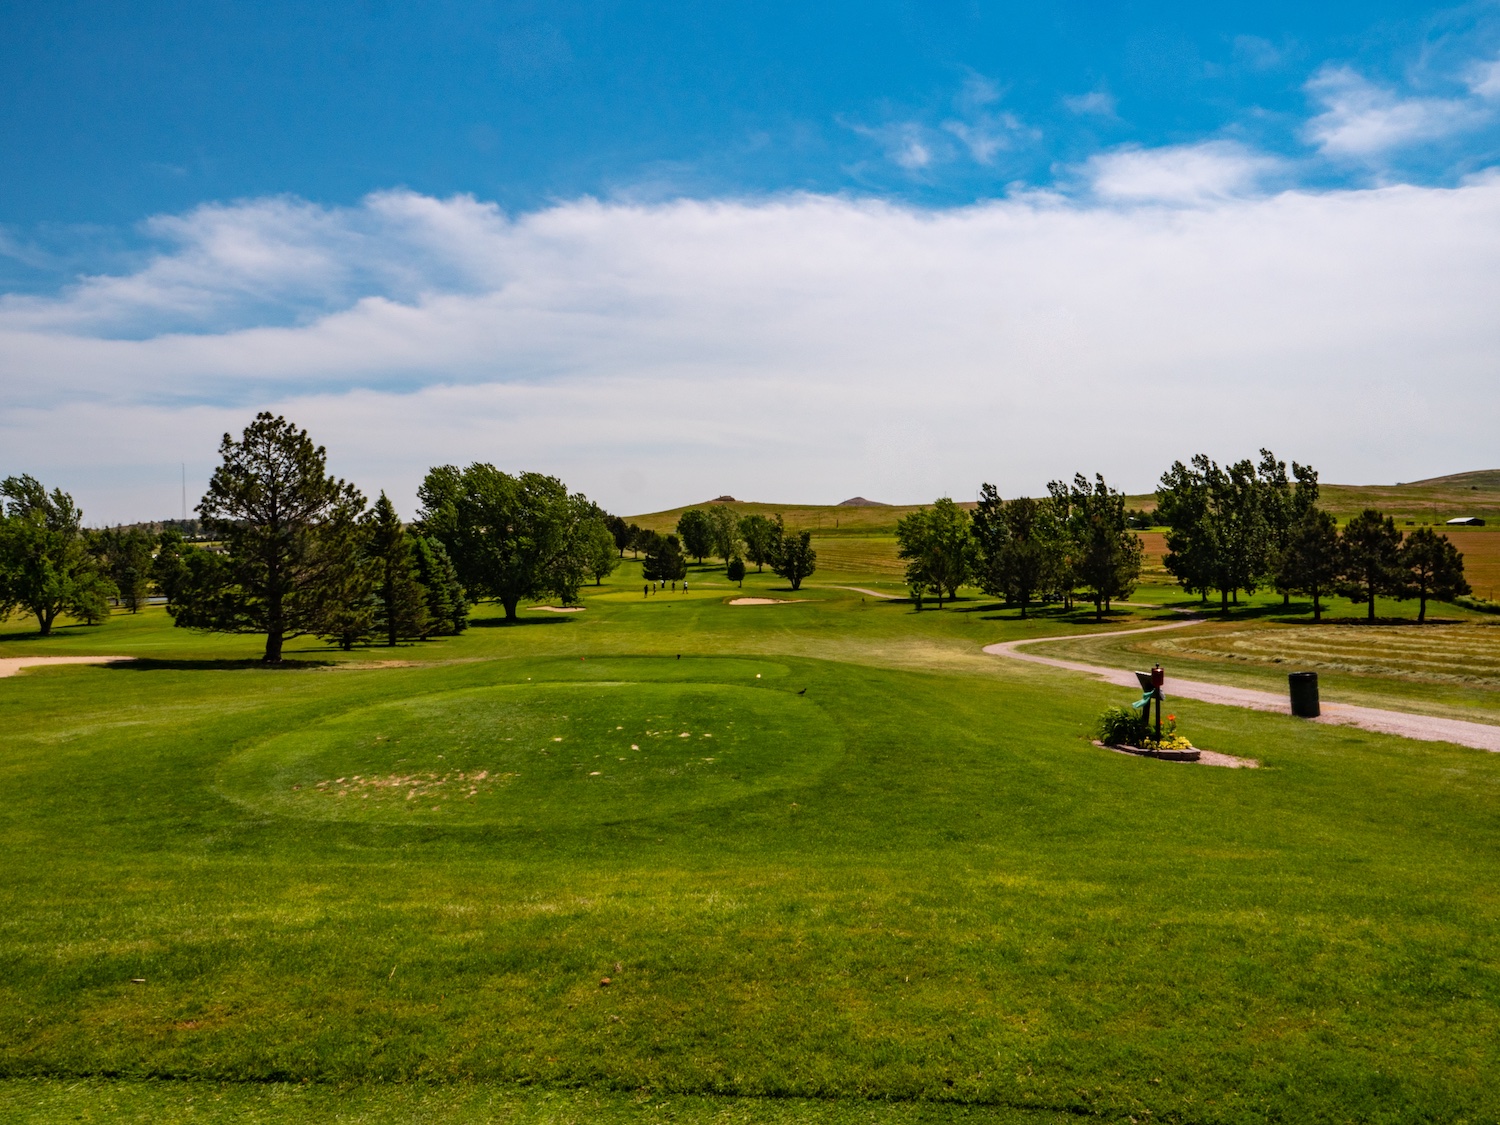
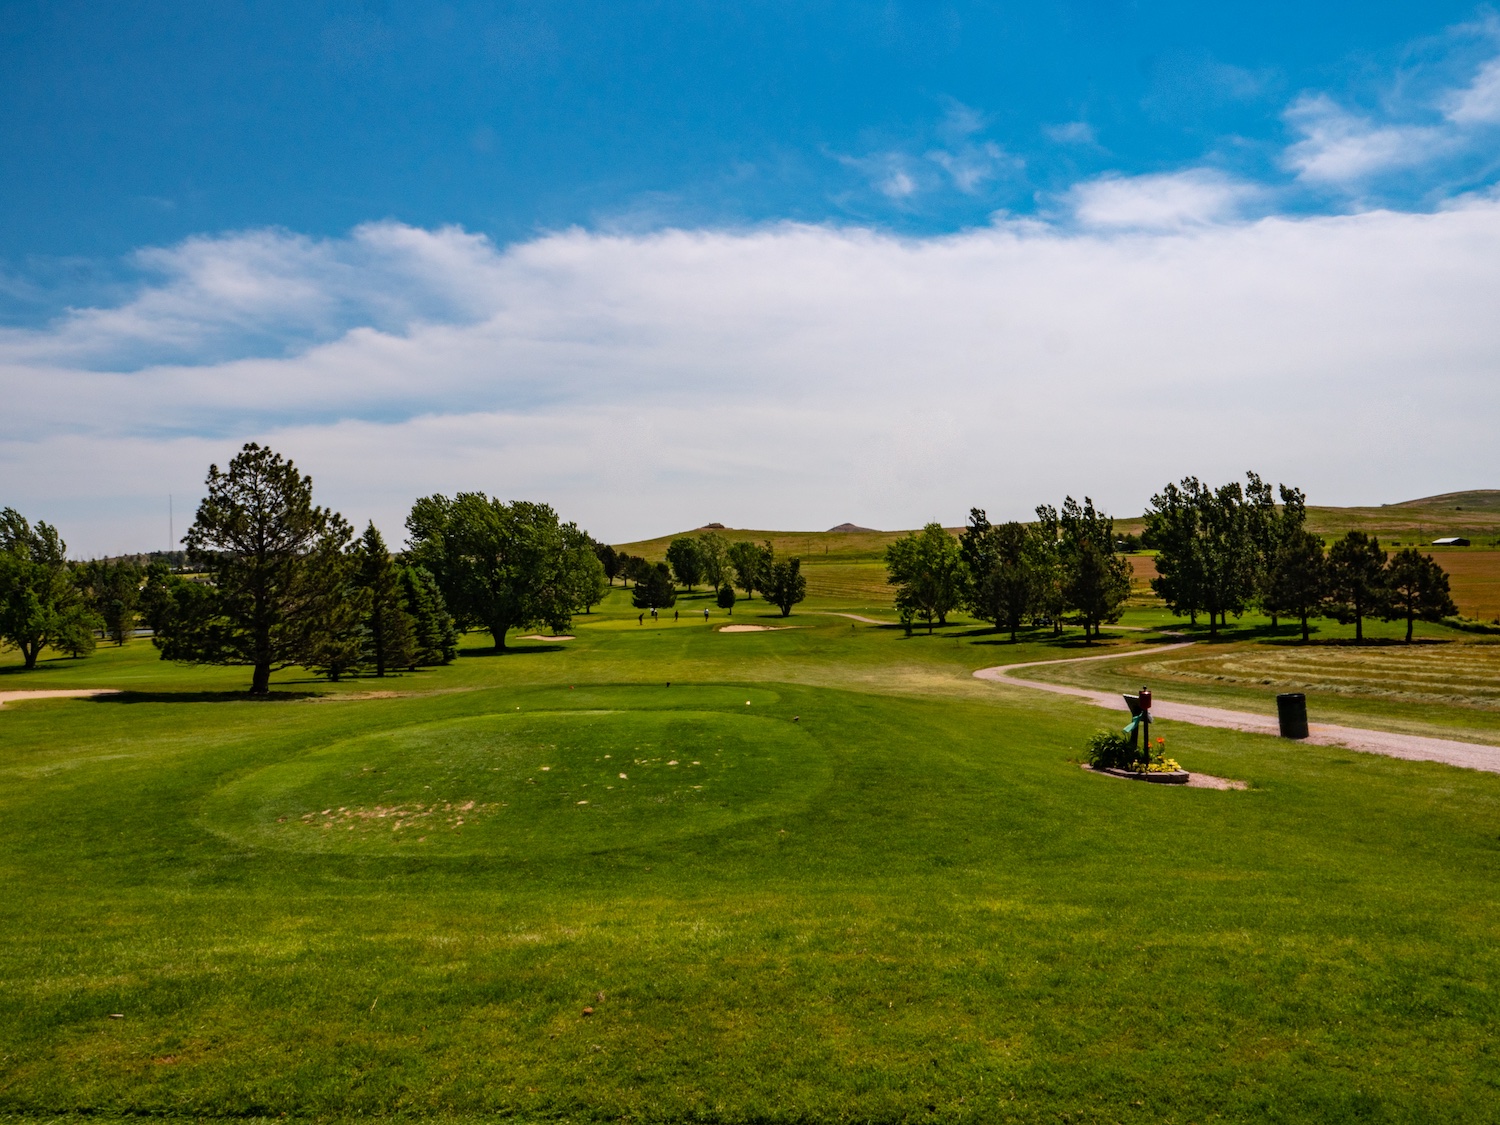
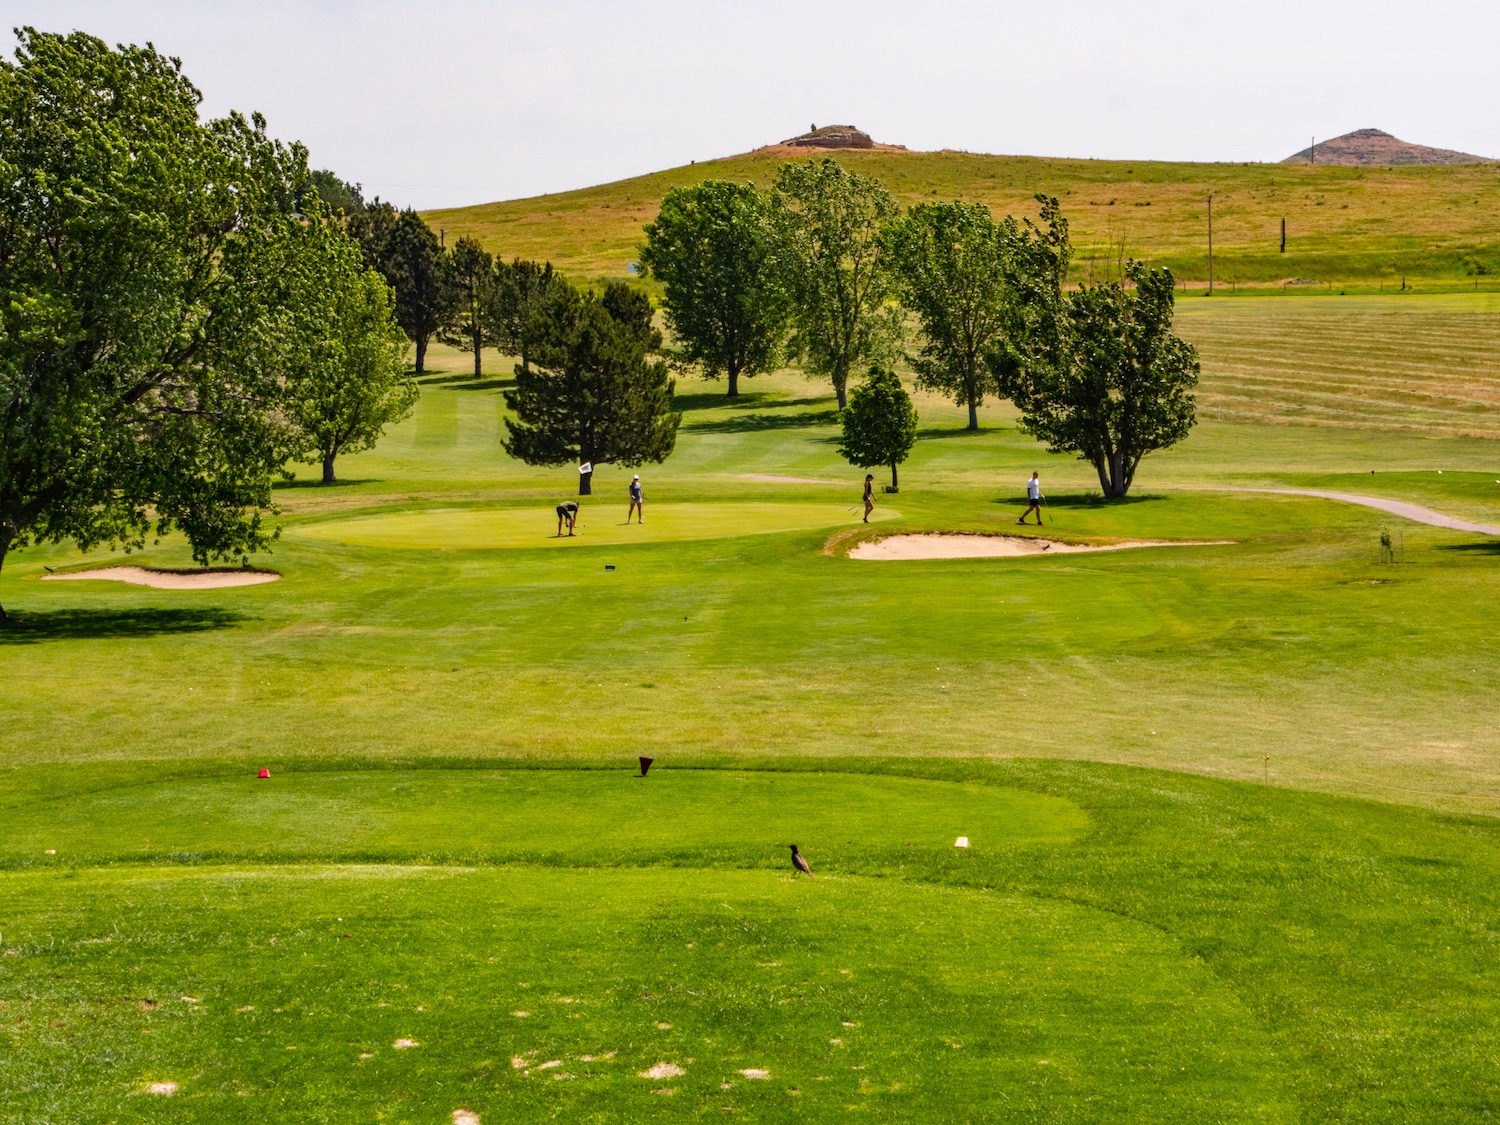
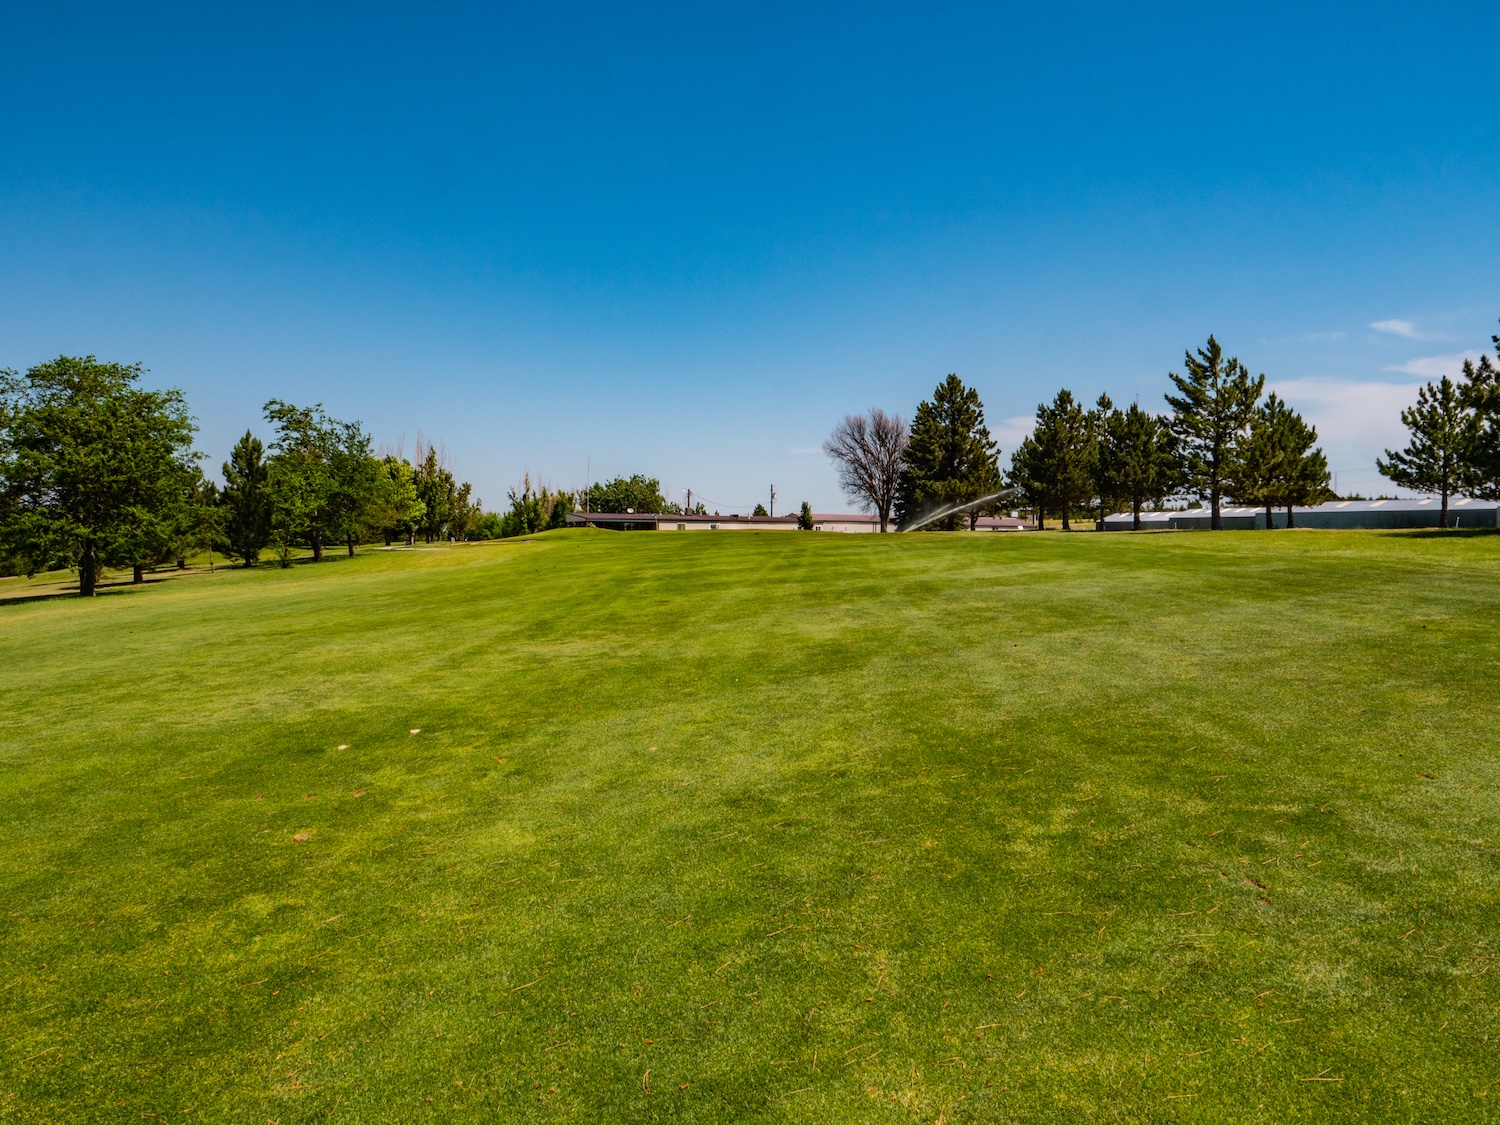
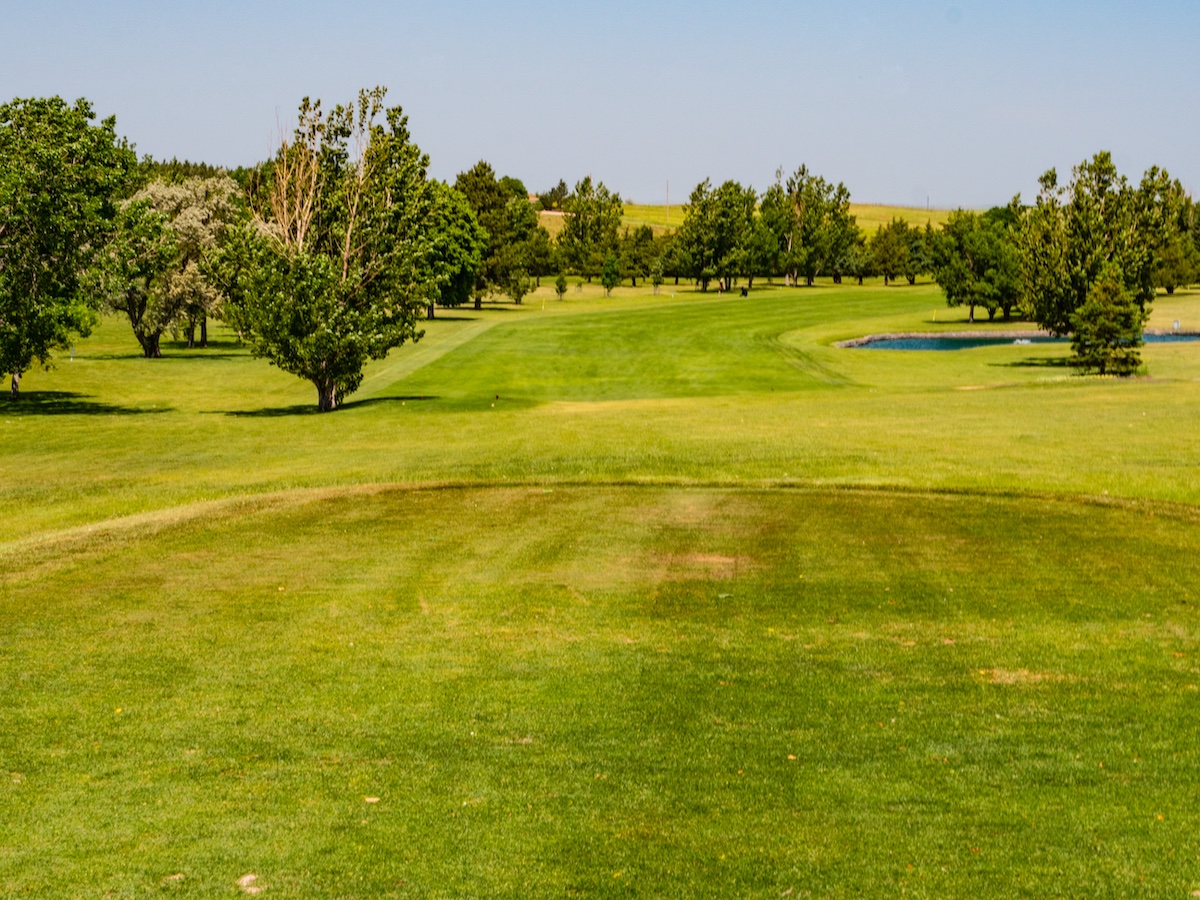
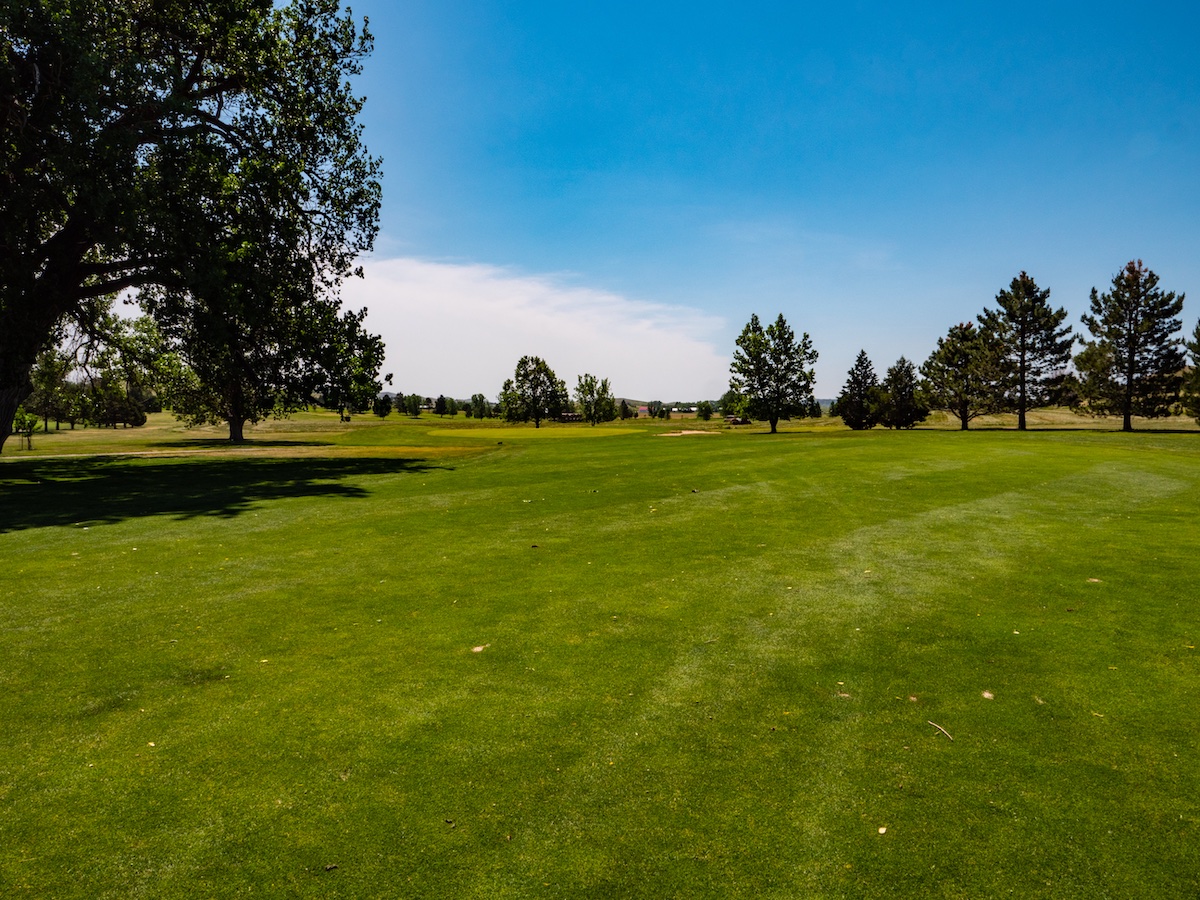
Hole #2
Hole 2 is a 148 yard par 3 that is downhill. That green is guarded on either side by sand traps.
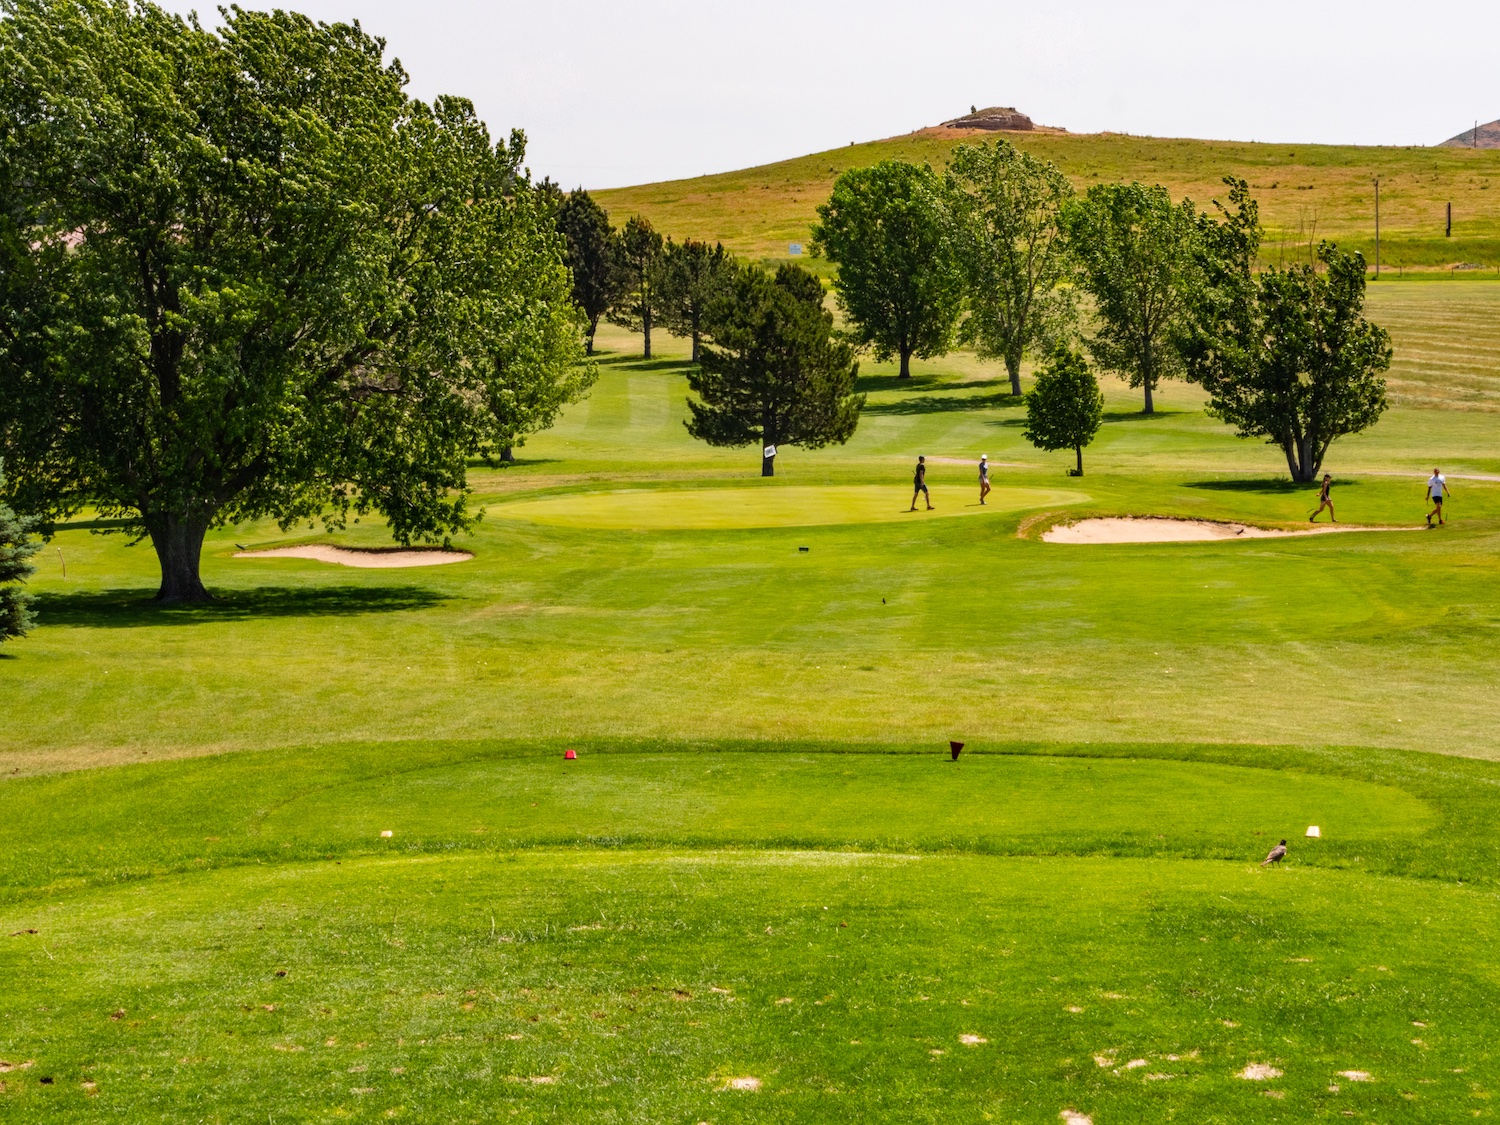
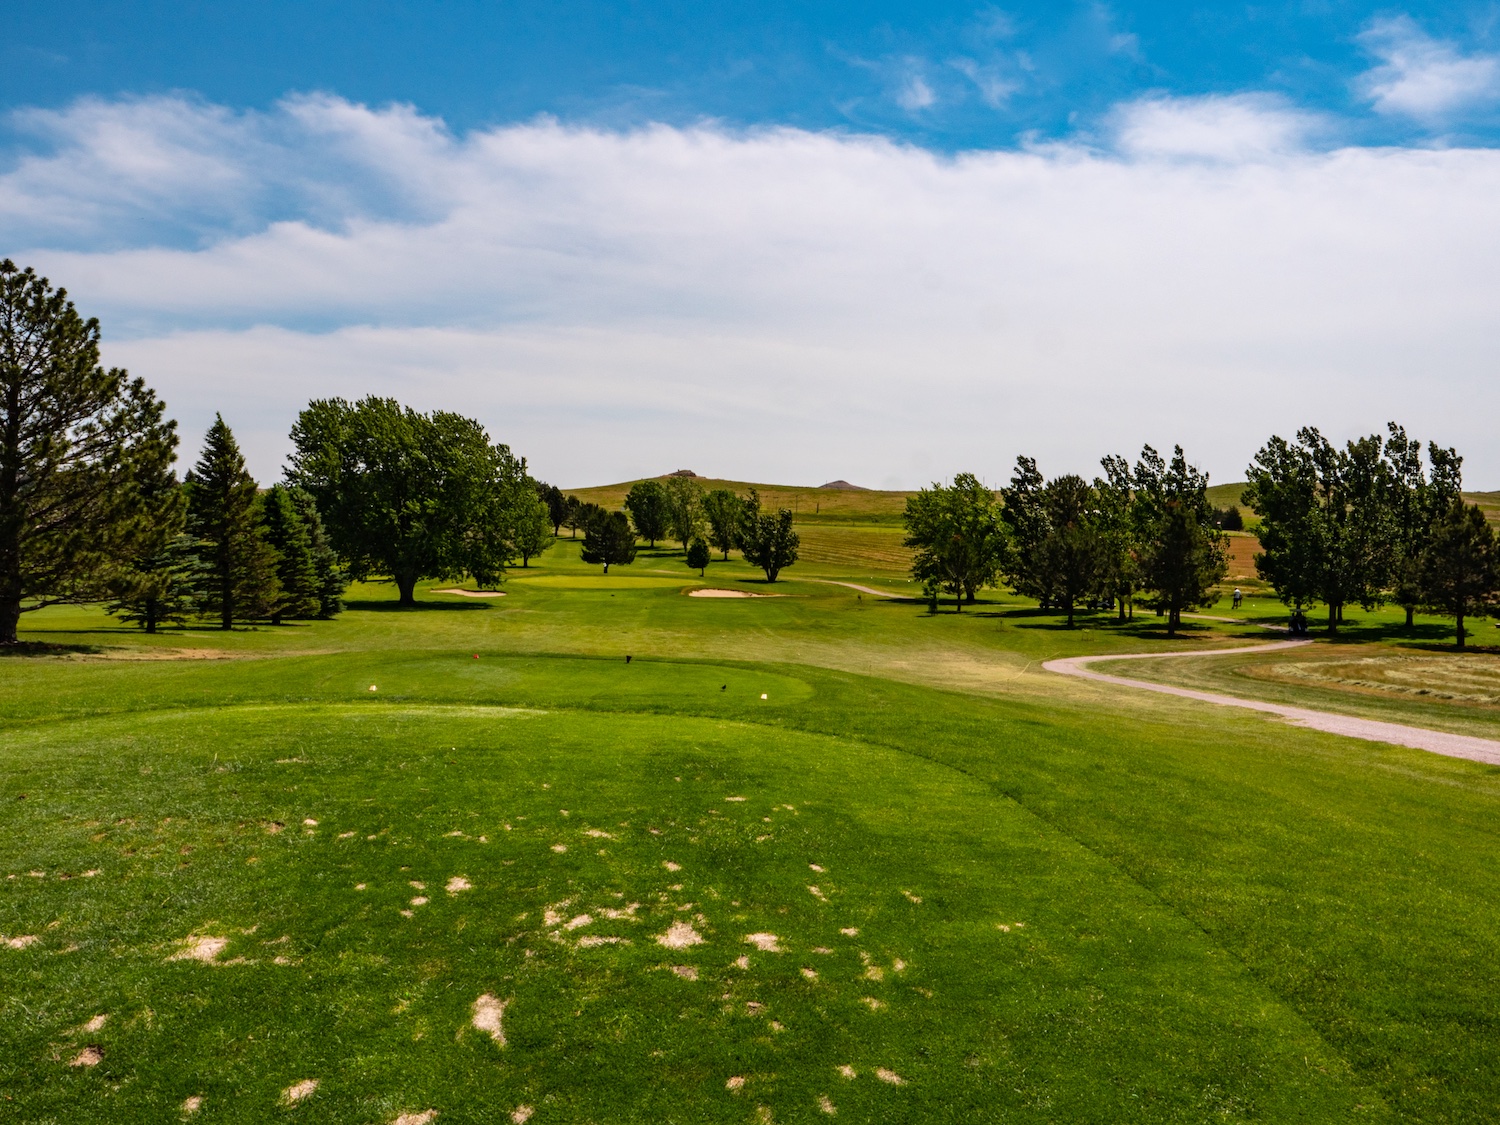
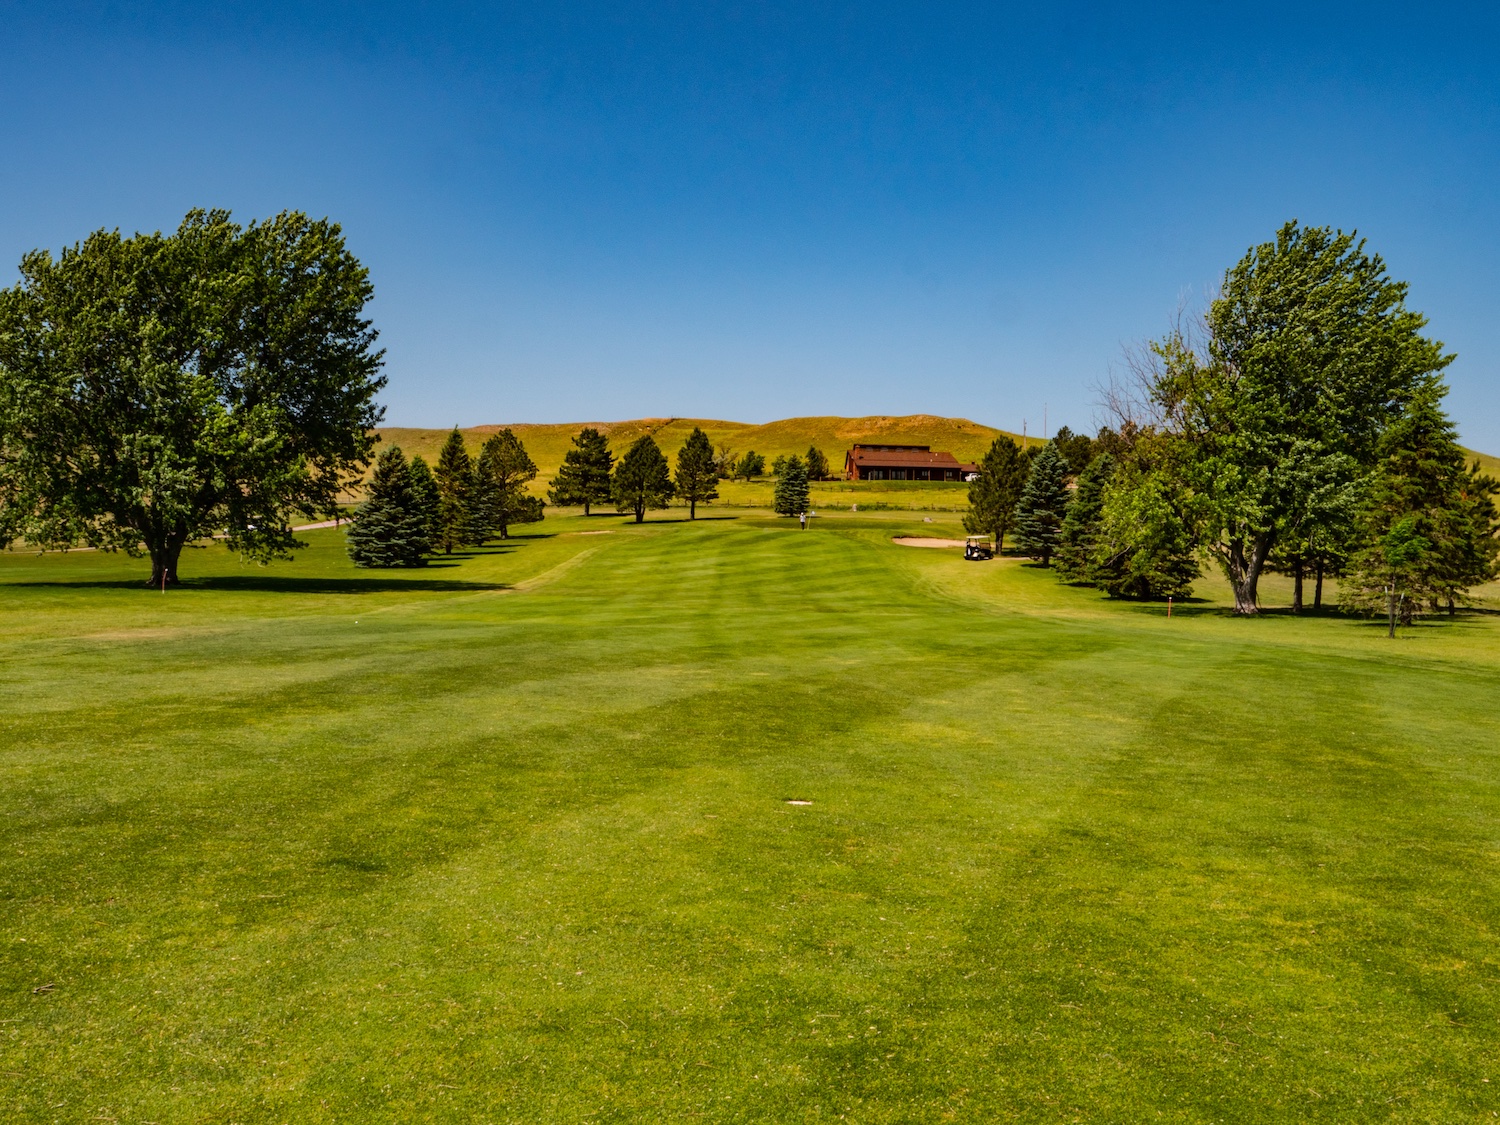
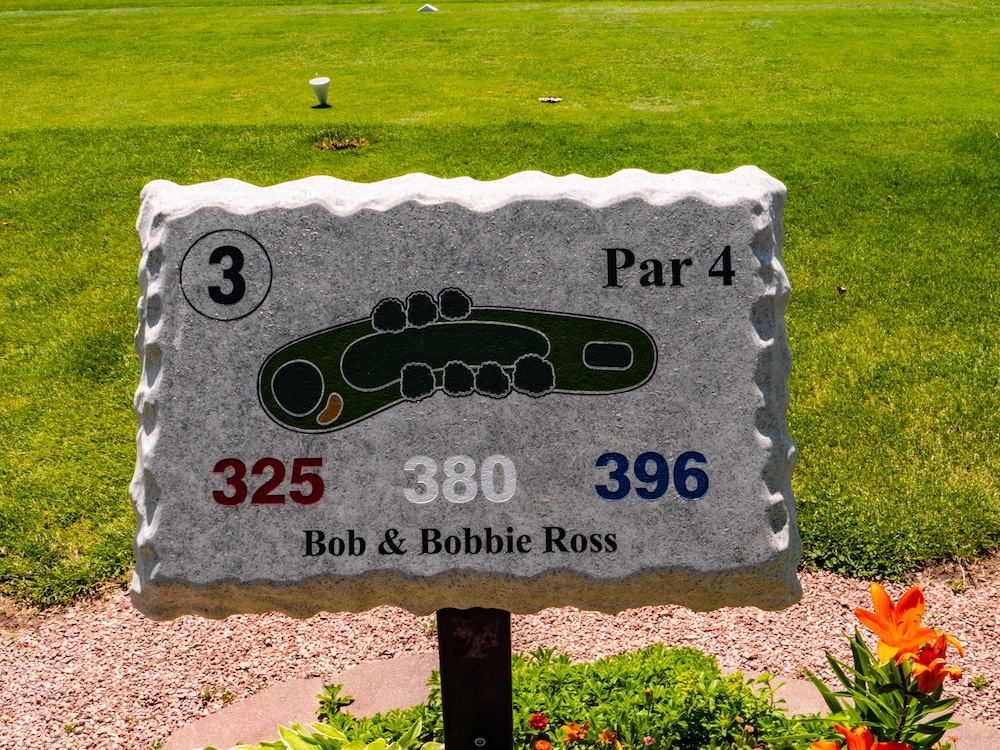
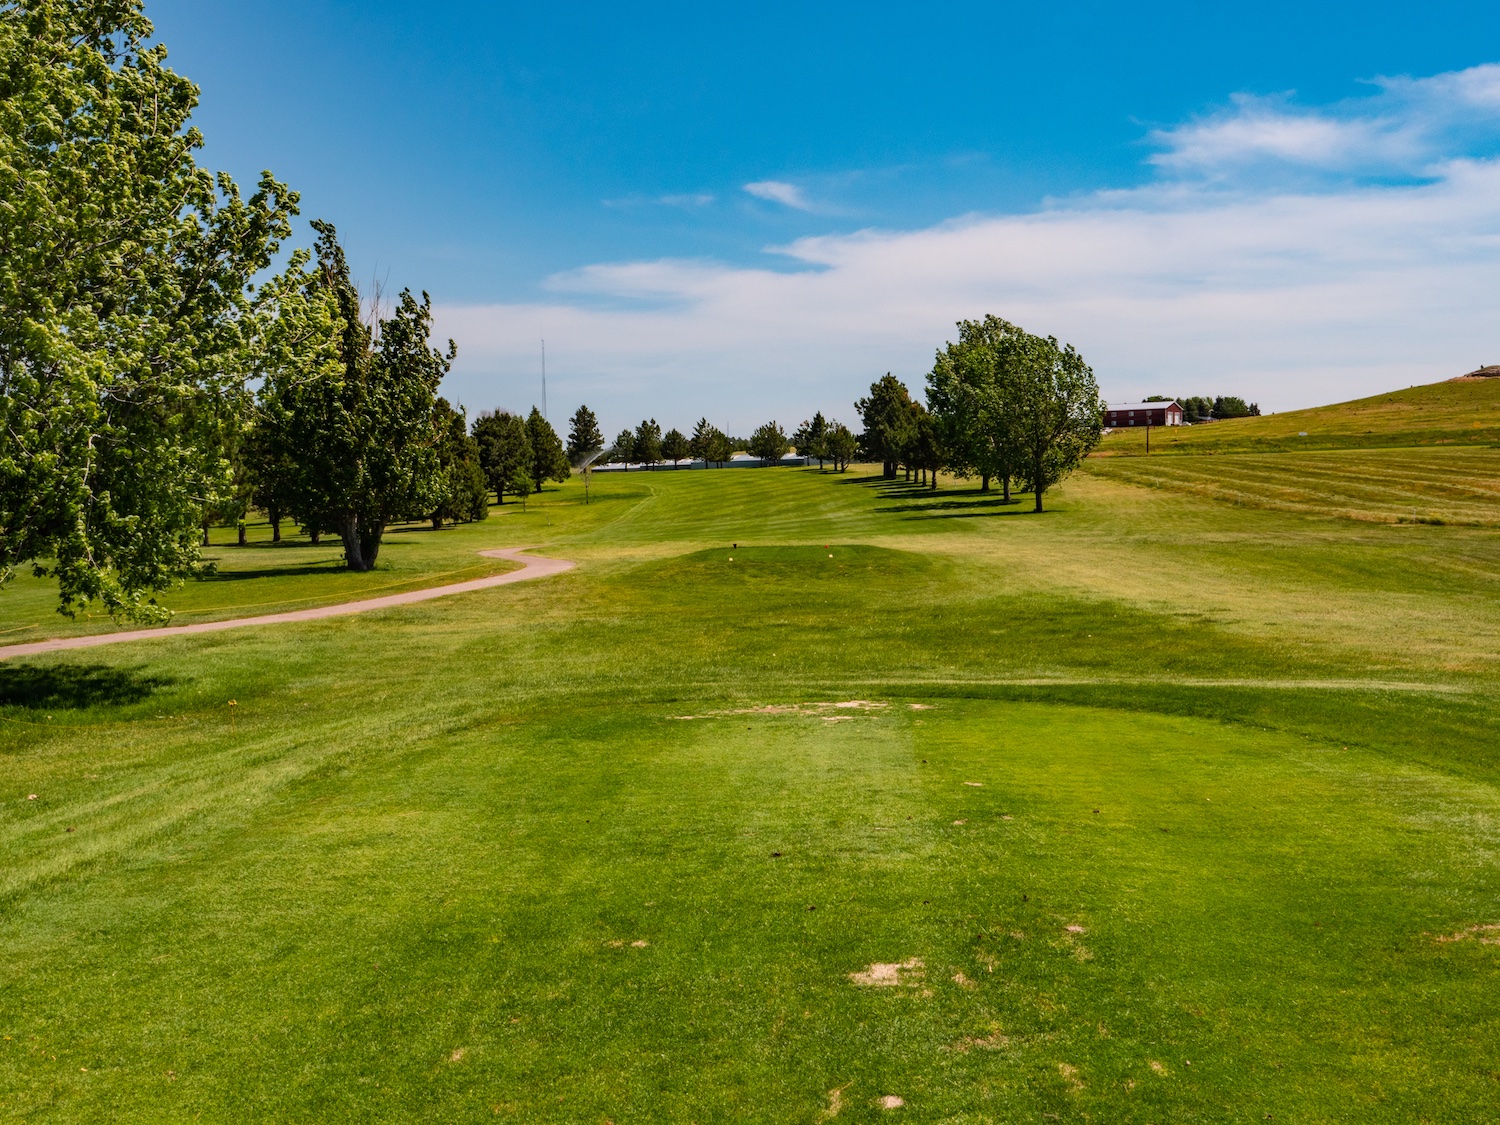
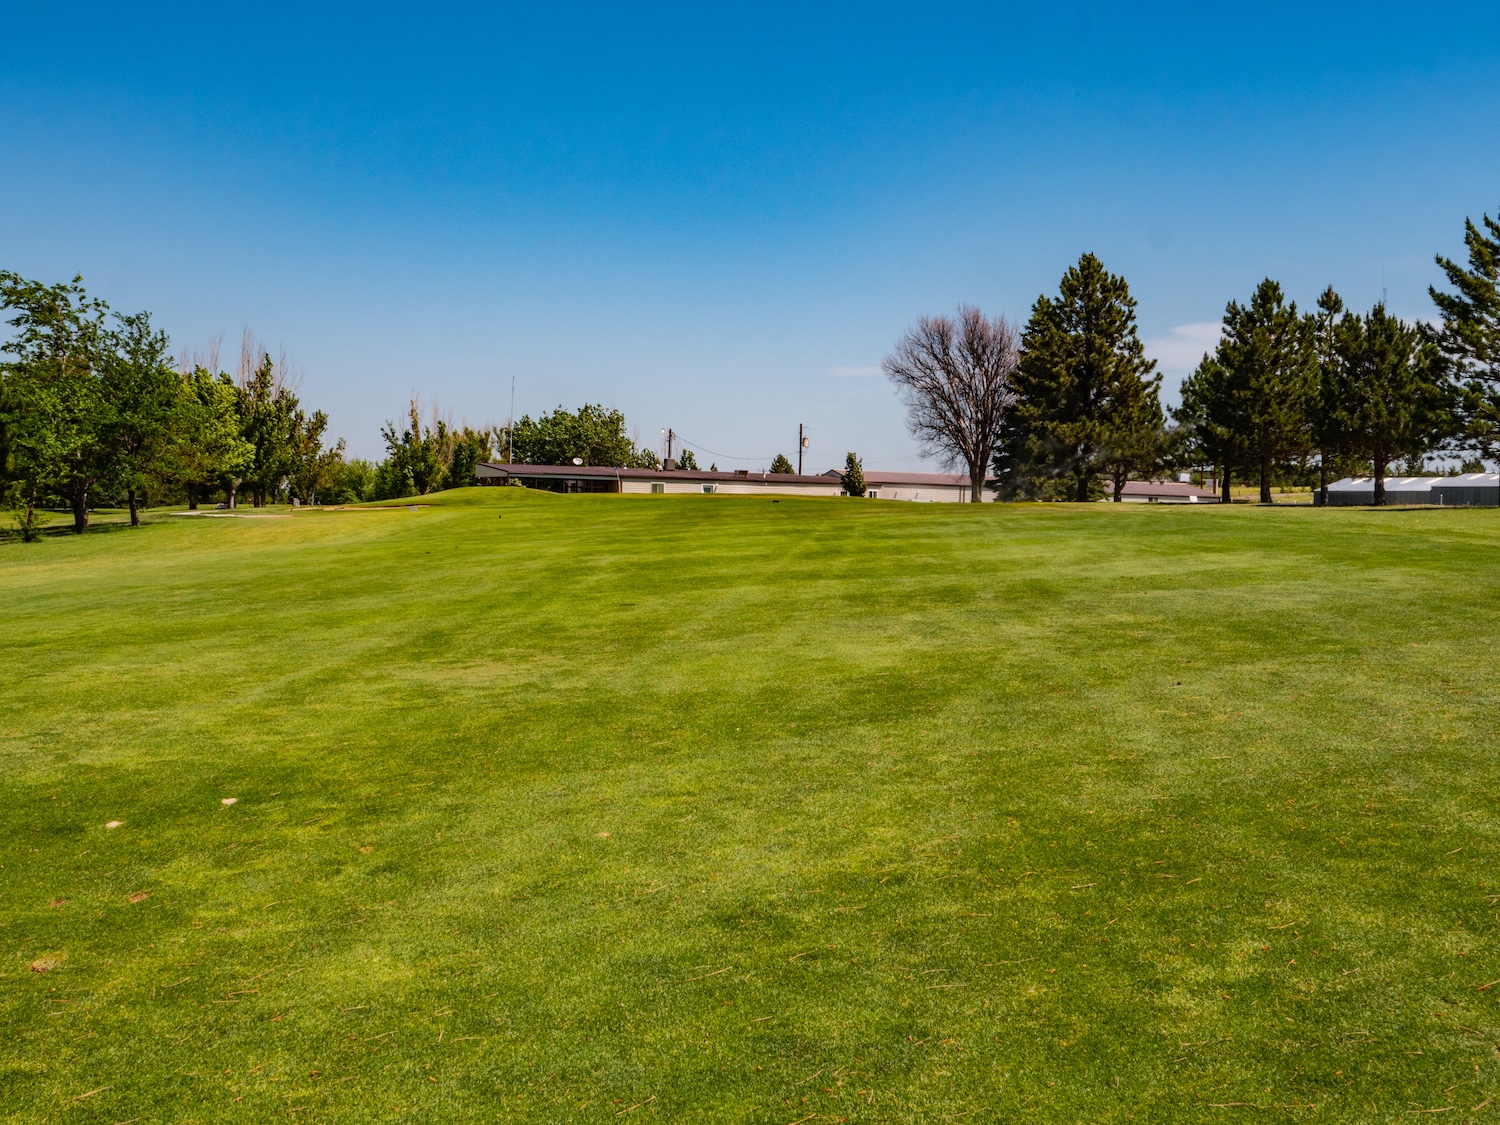
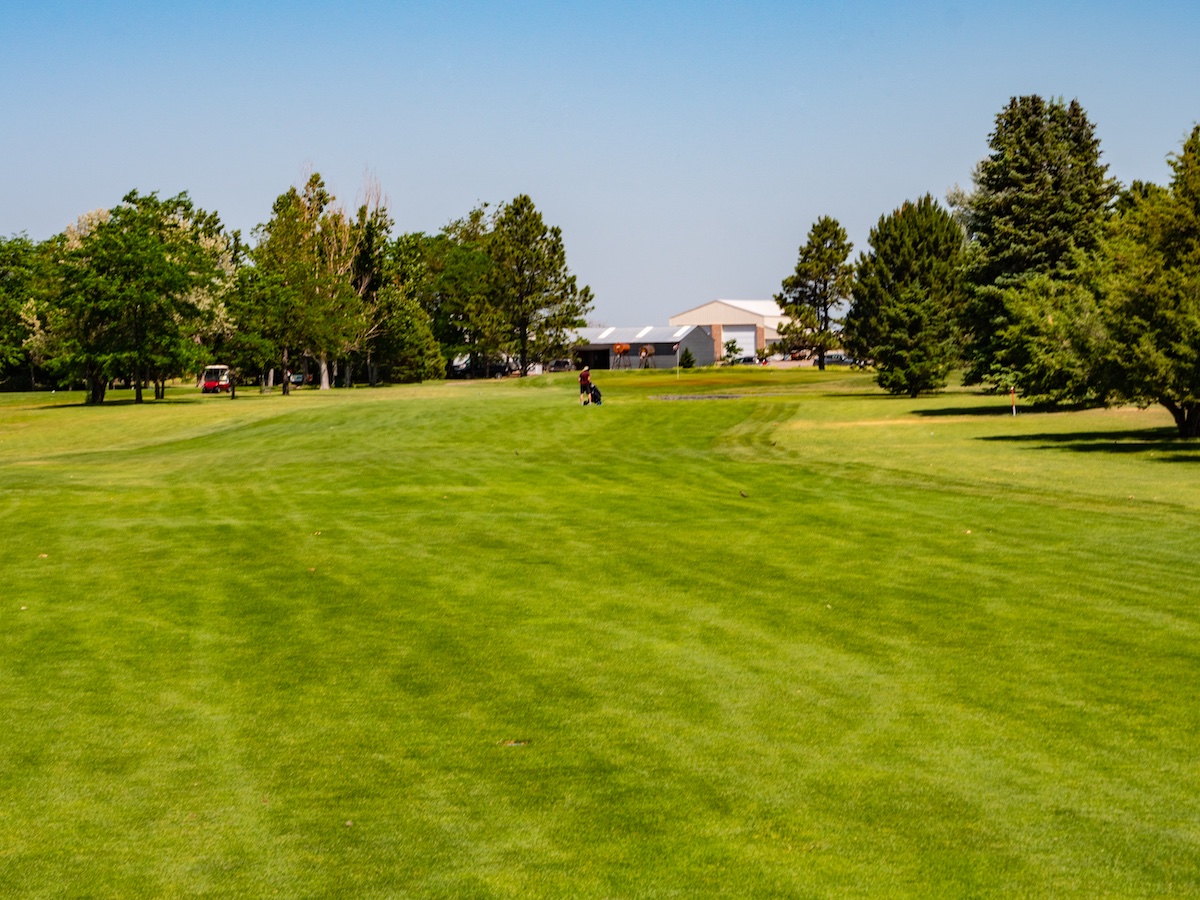
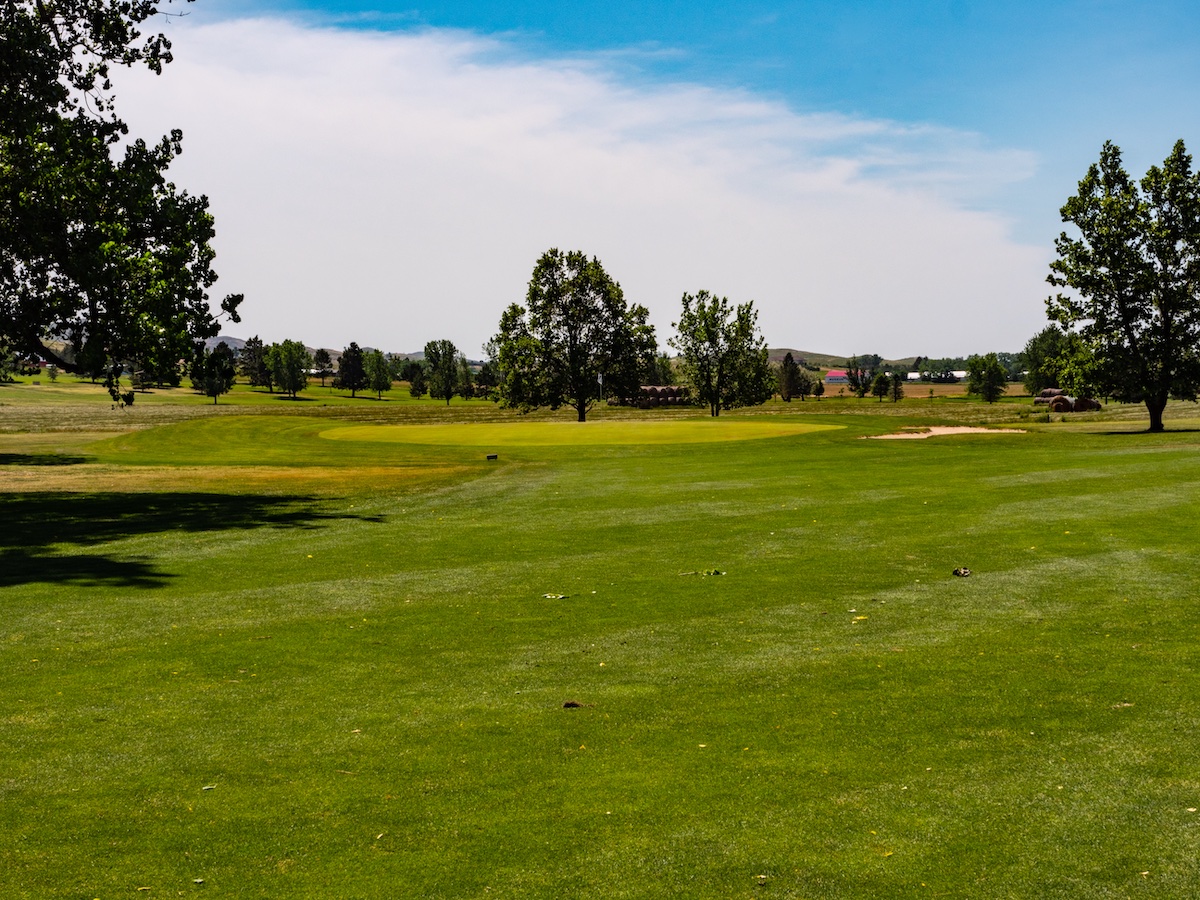
Hole #3
Hole 3 is a 380 yard par 4 with an uphill slight dog leg left with out of bounds on the right. A great tee shot sets up an easy approach to the green.

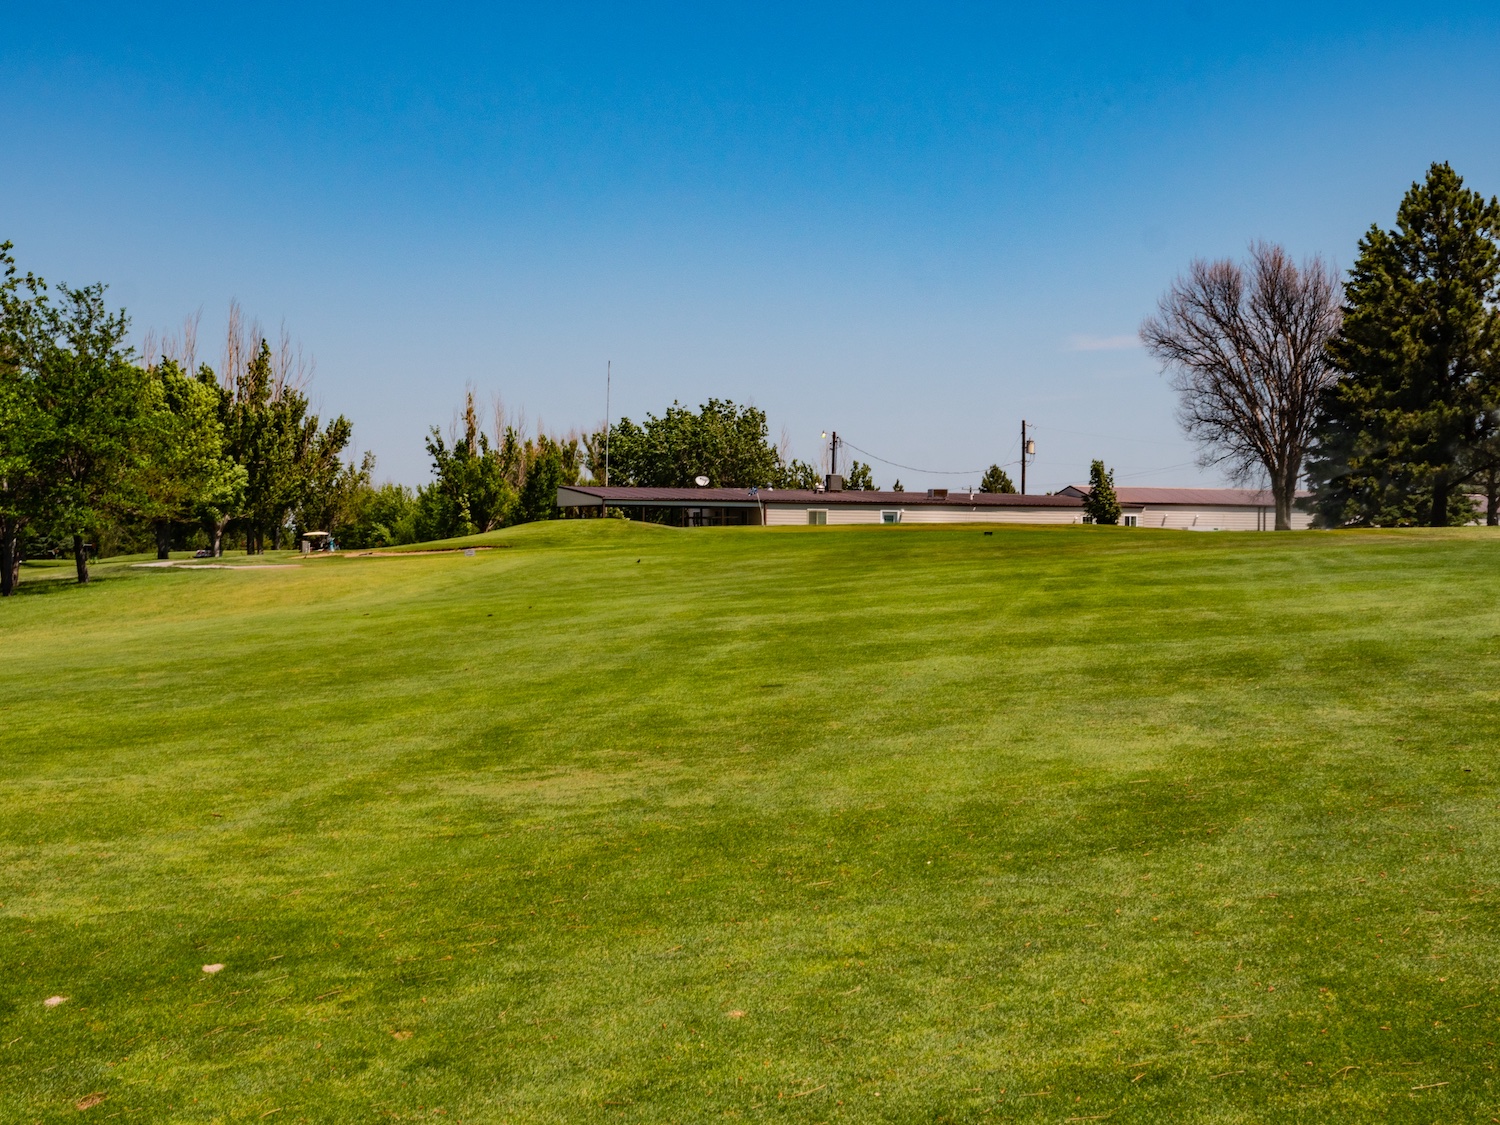
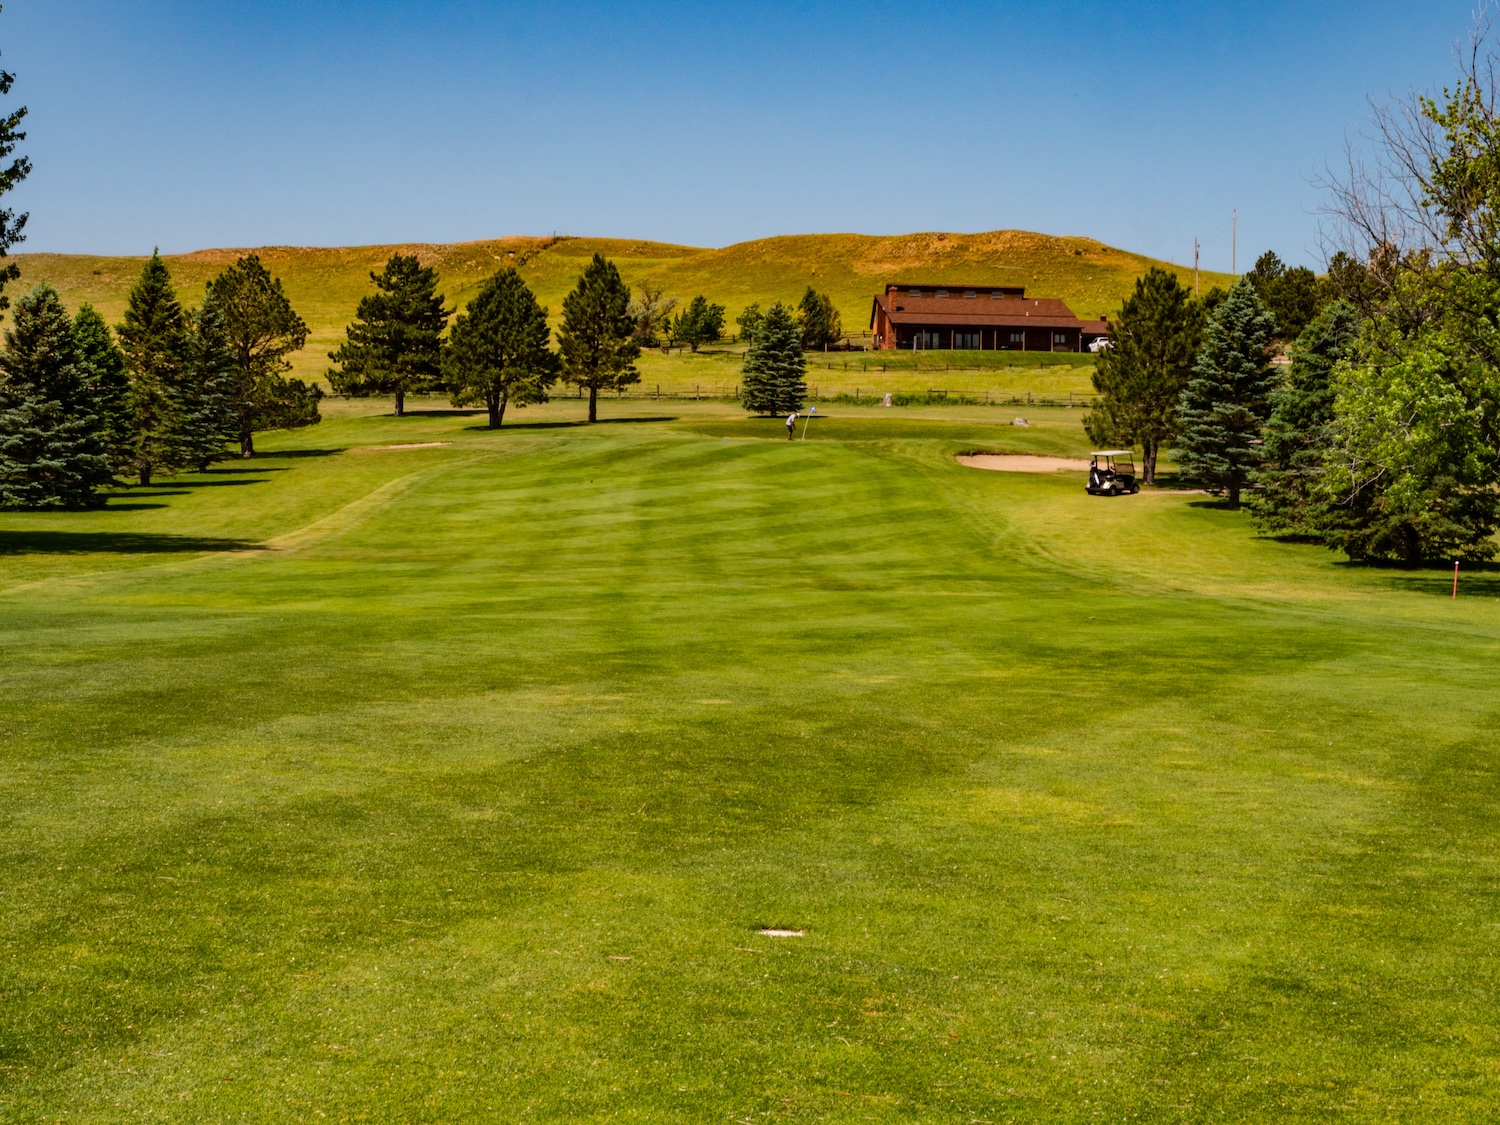
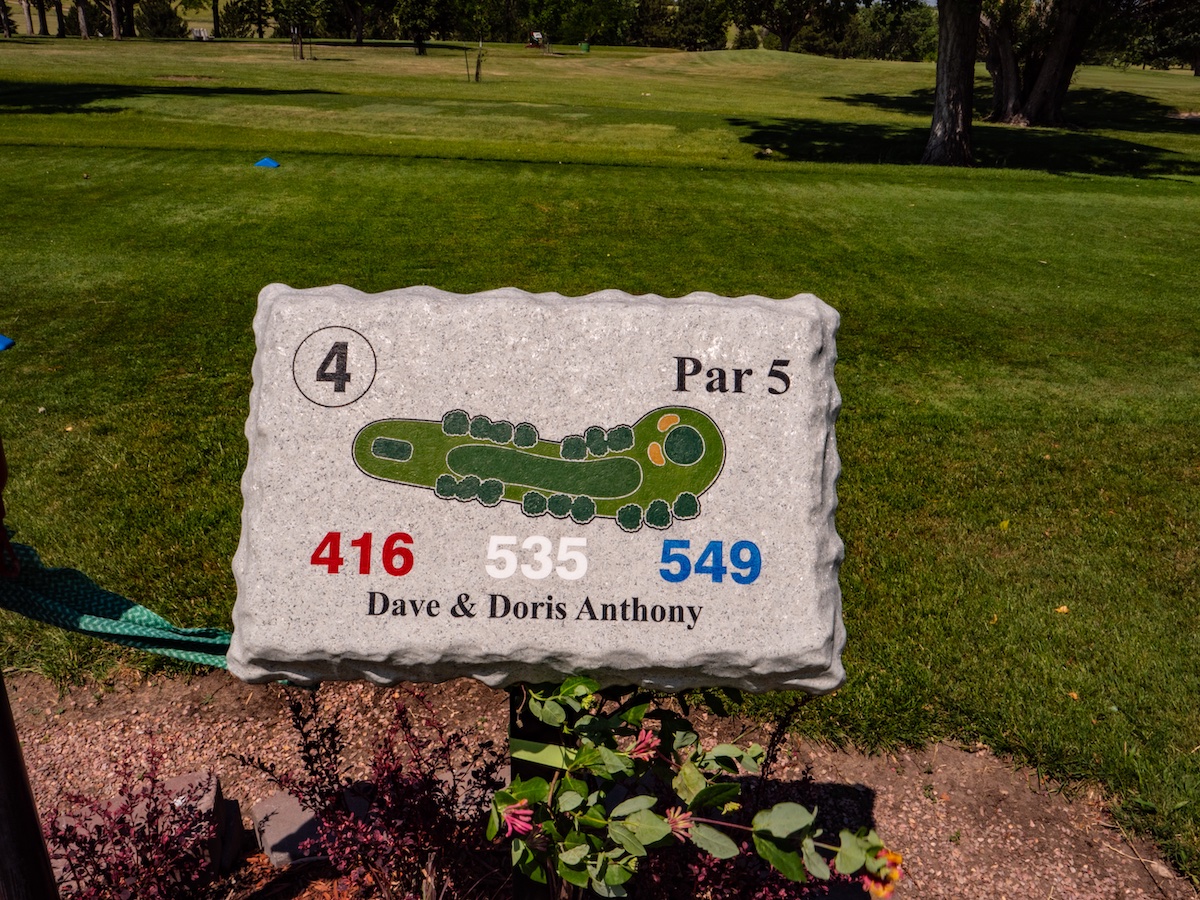
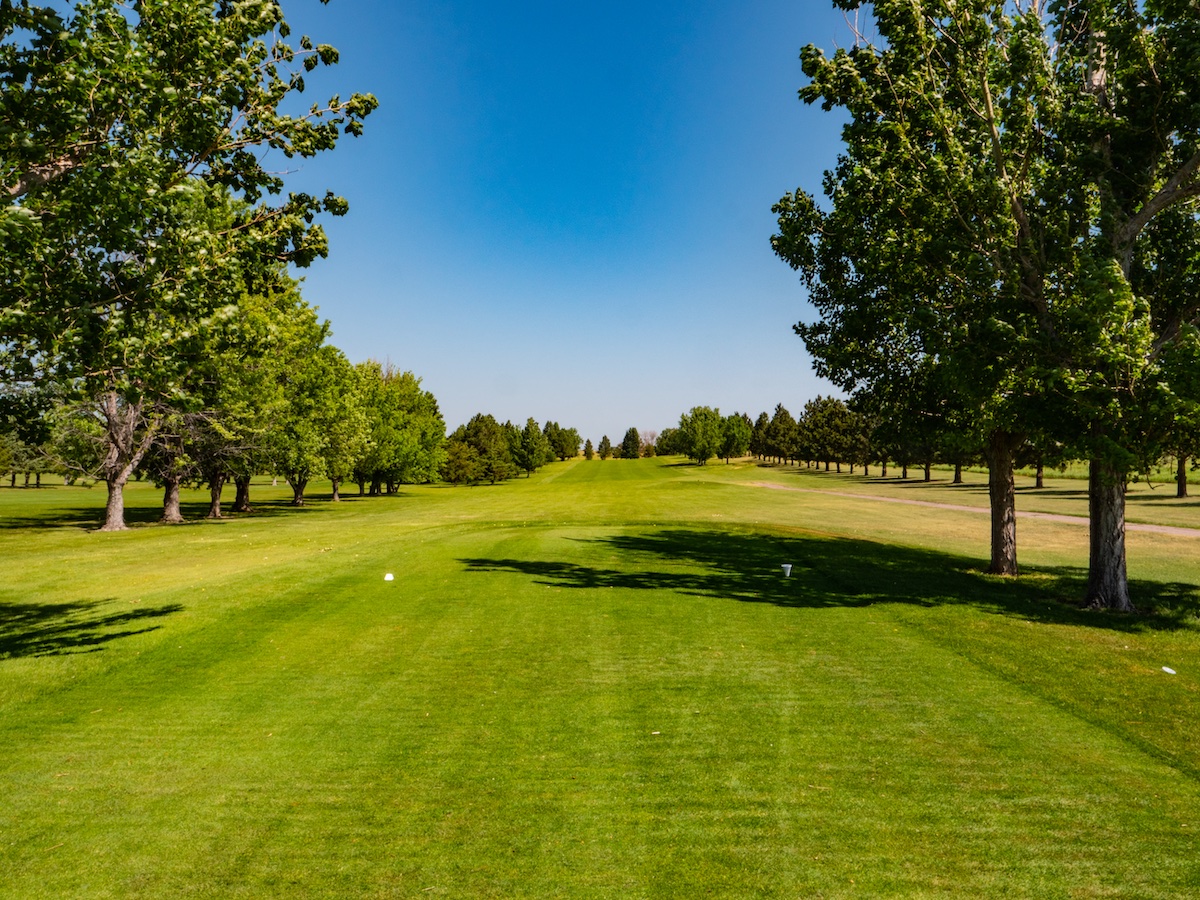
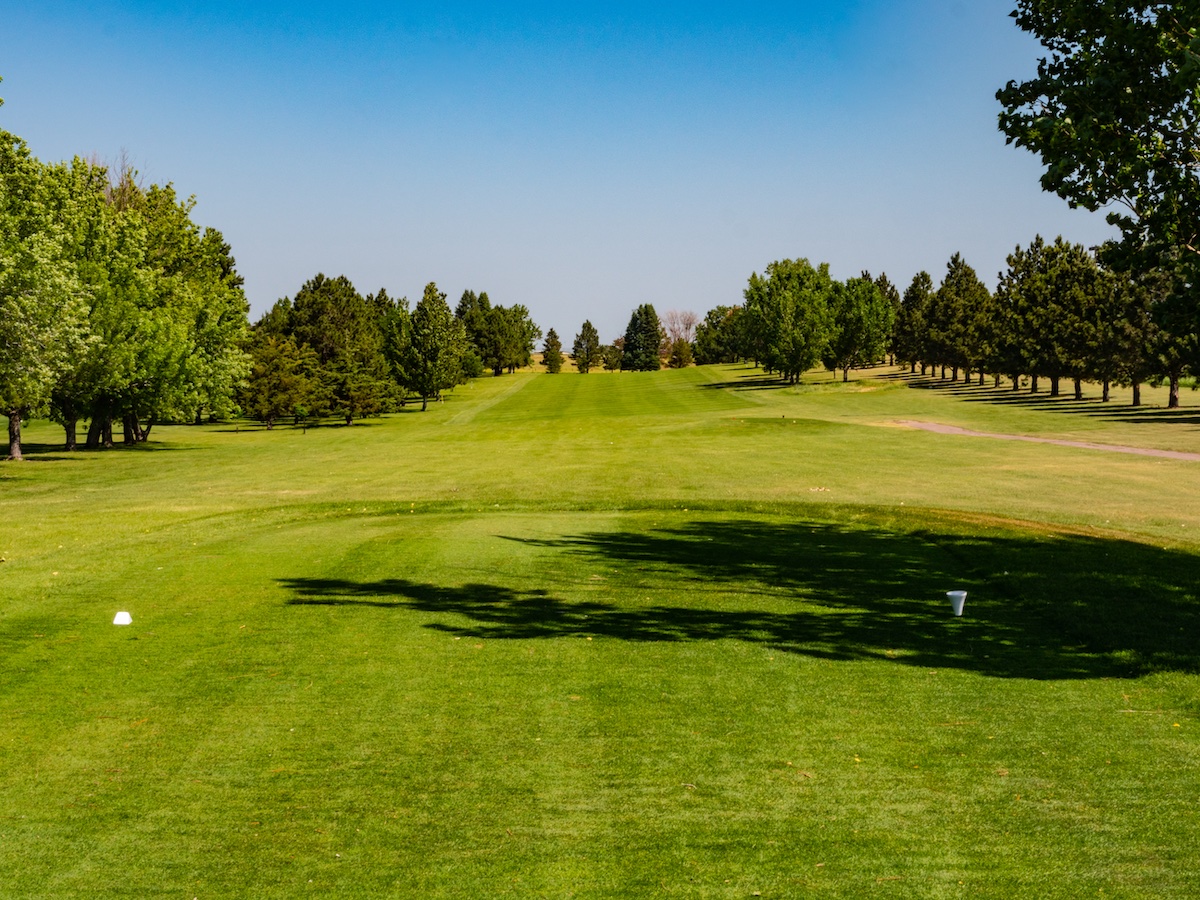
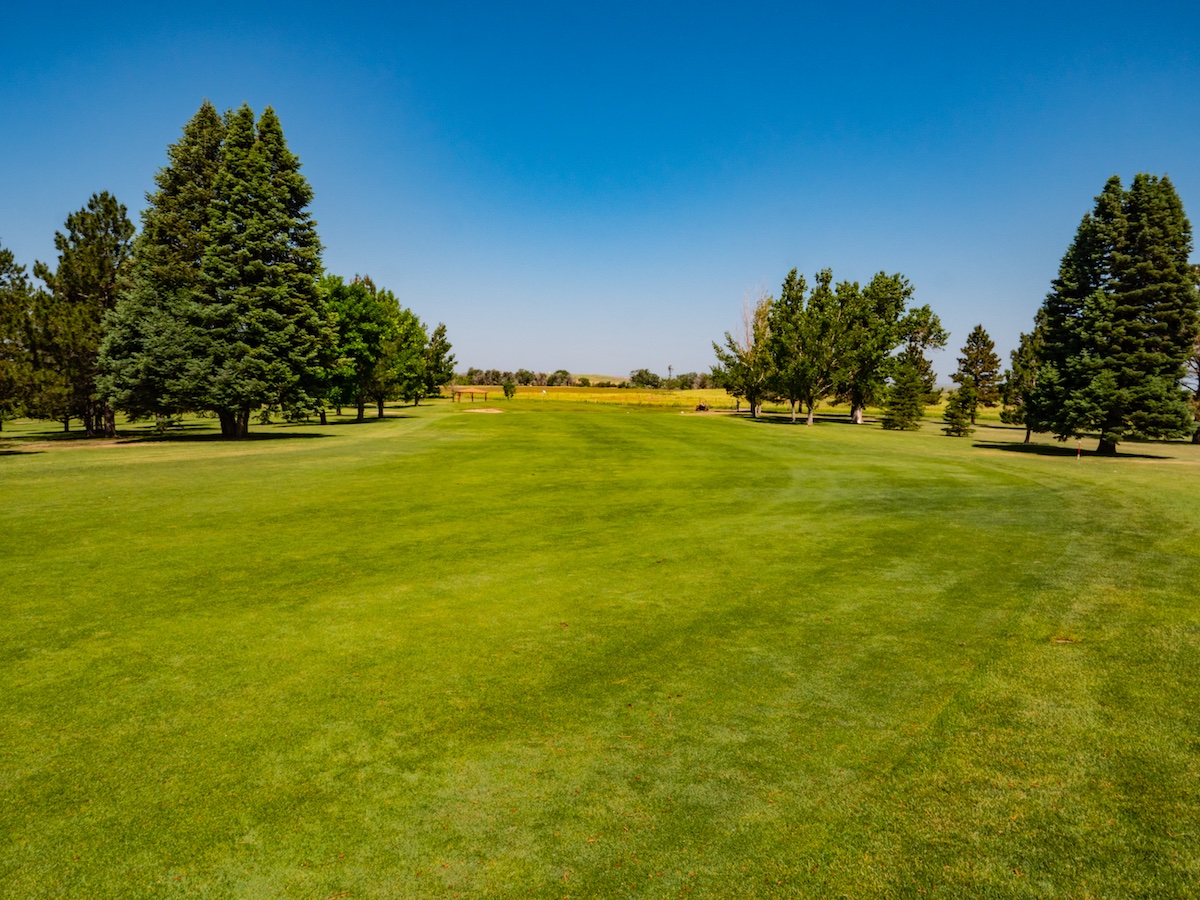
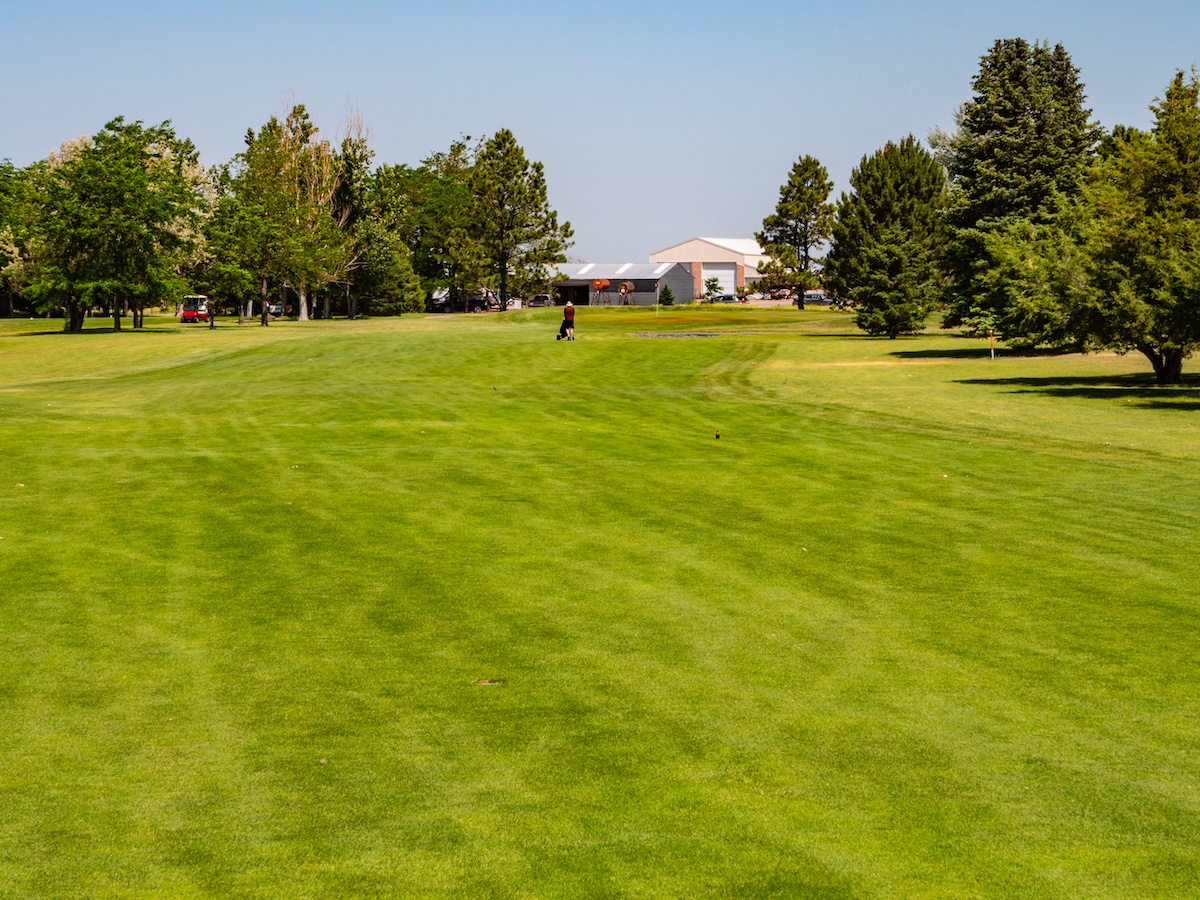
Hole #4
Hole 4 is a 535 yard par 5. This hole is heavily guarded by trees on both sides with out of bounds on the right. A late dog leg to the left will have you making a decision on your second shot.


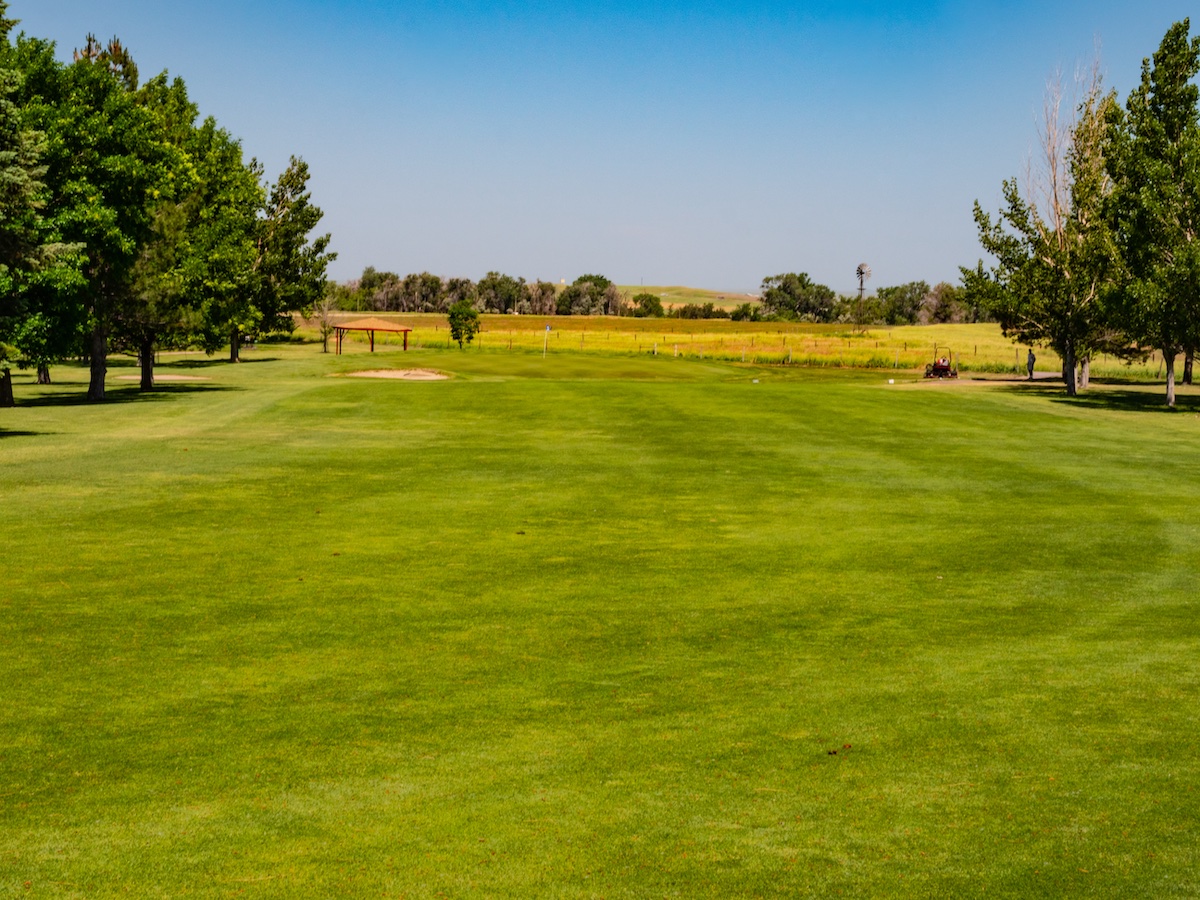
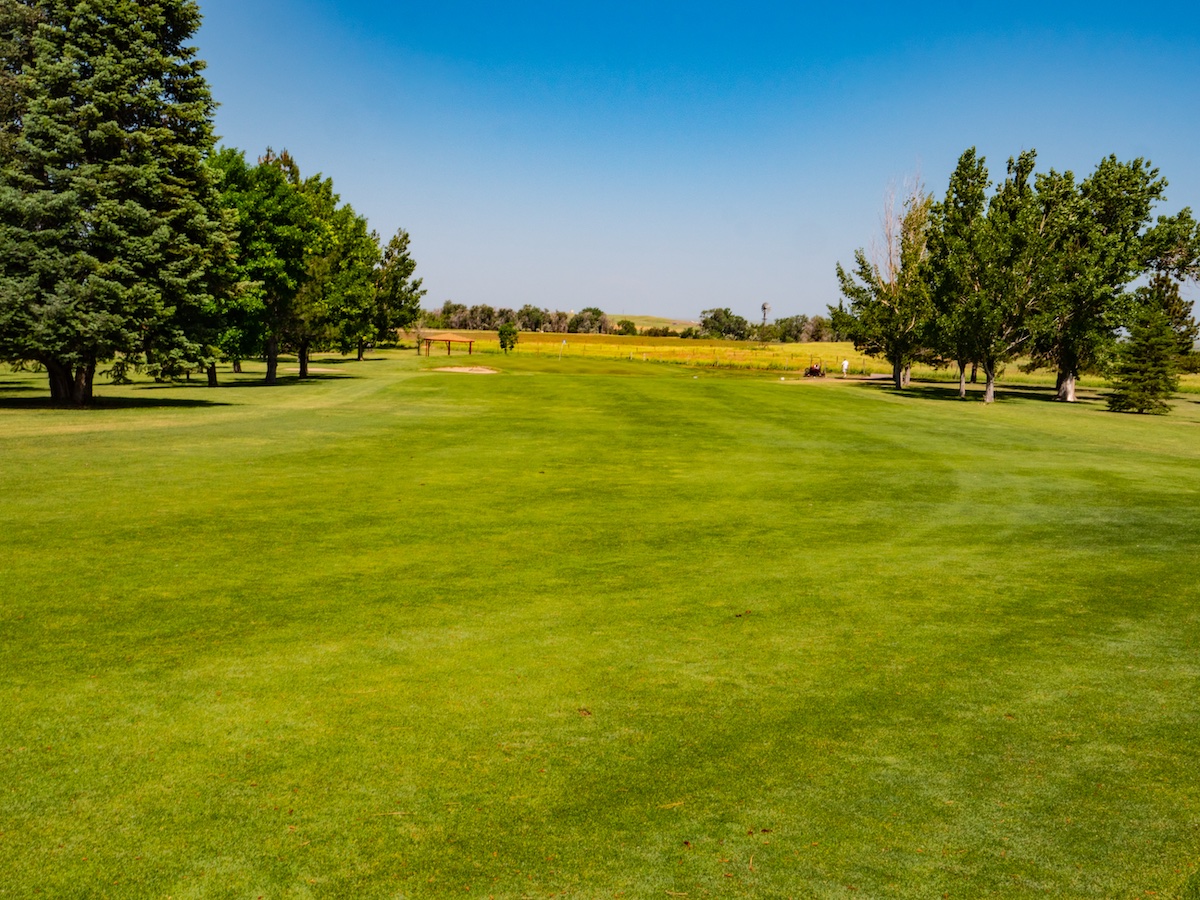
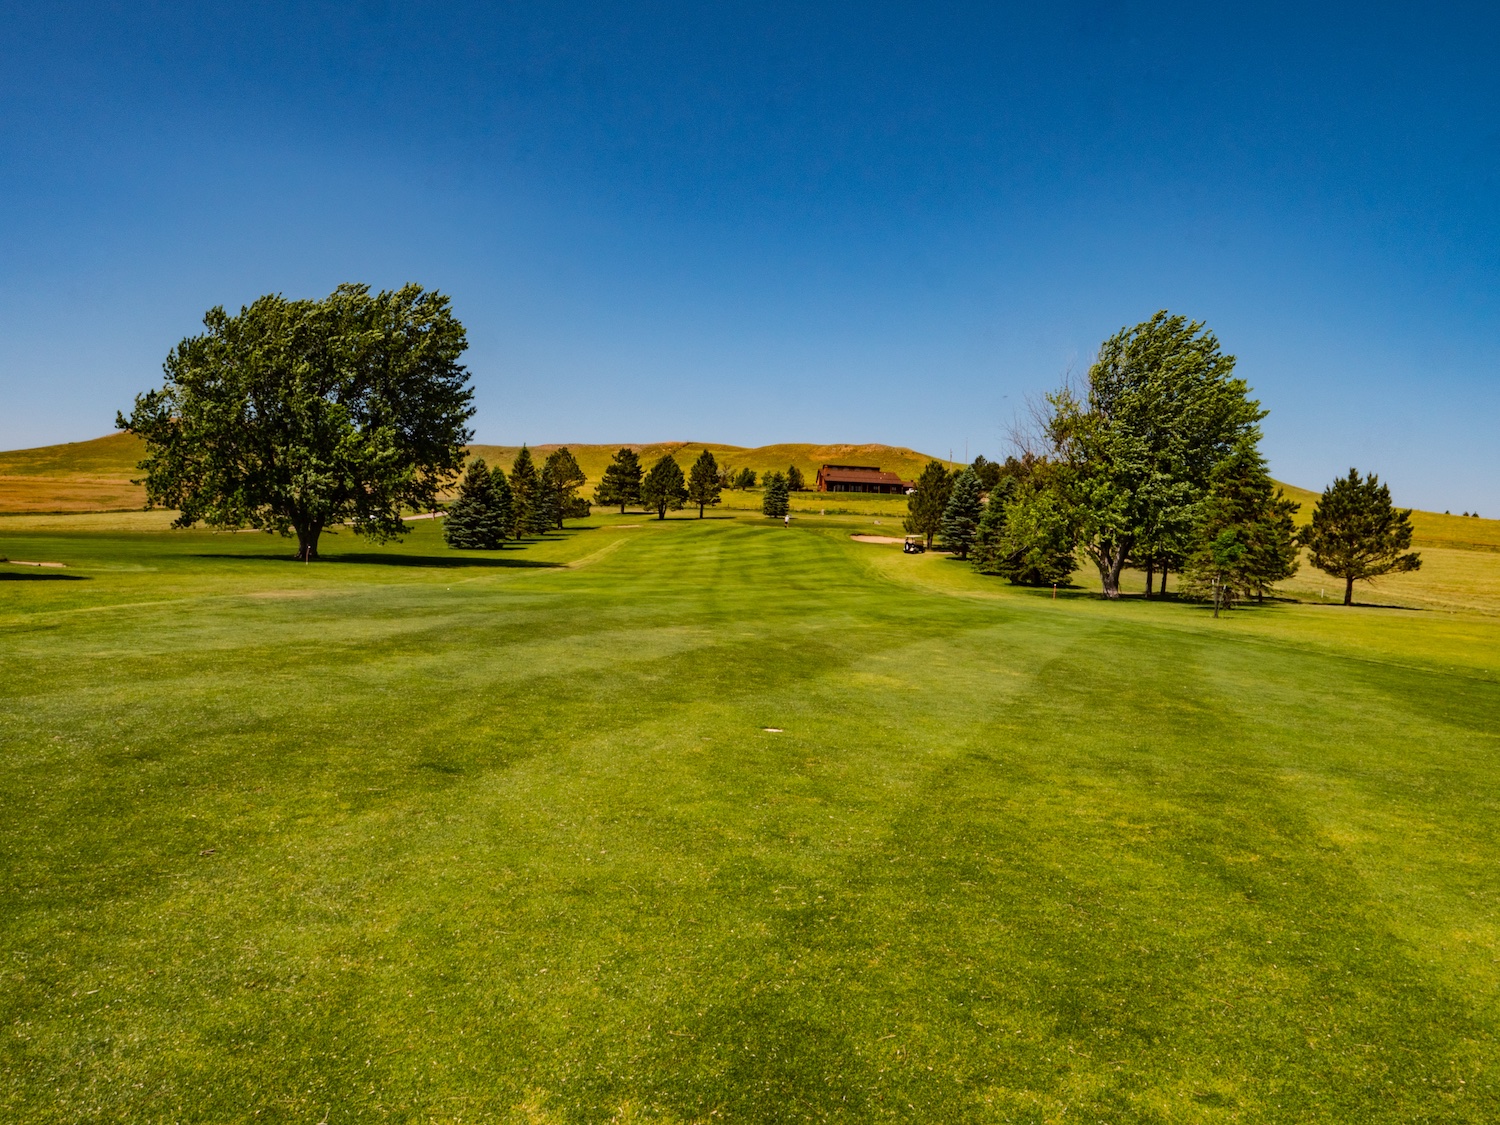
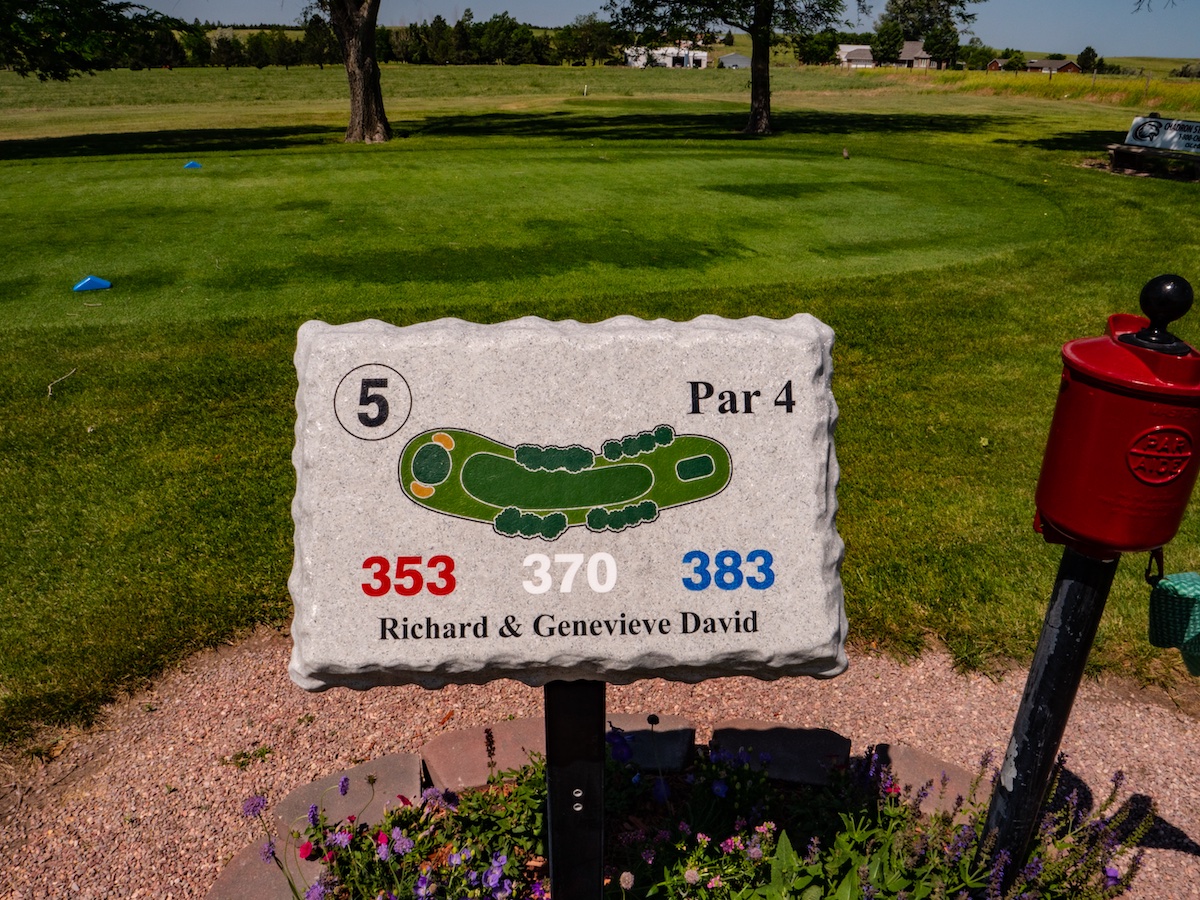
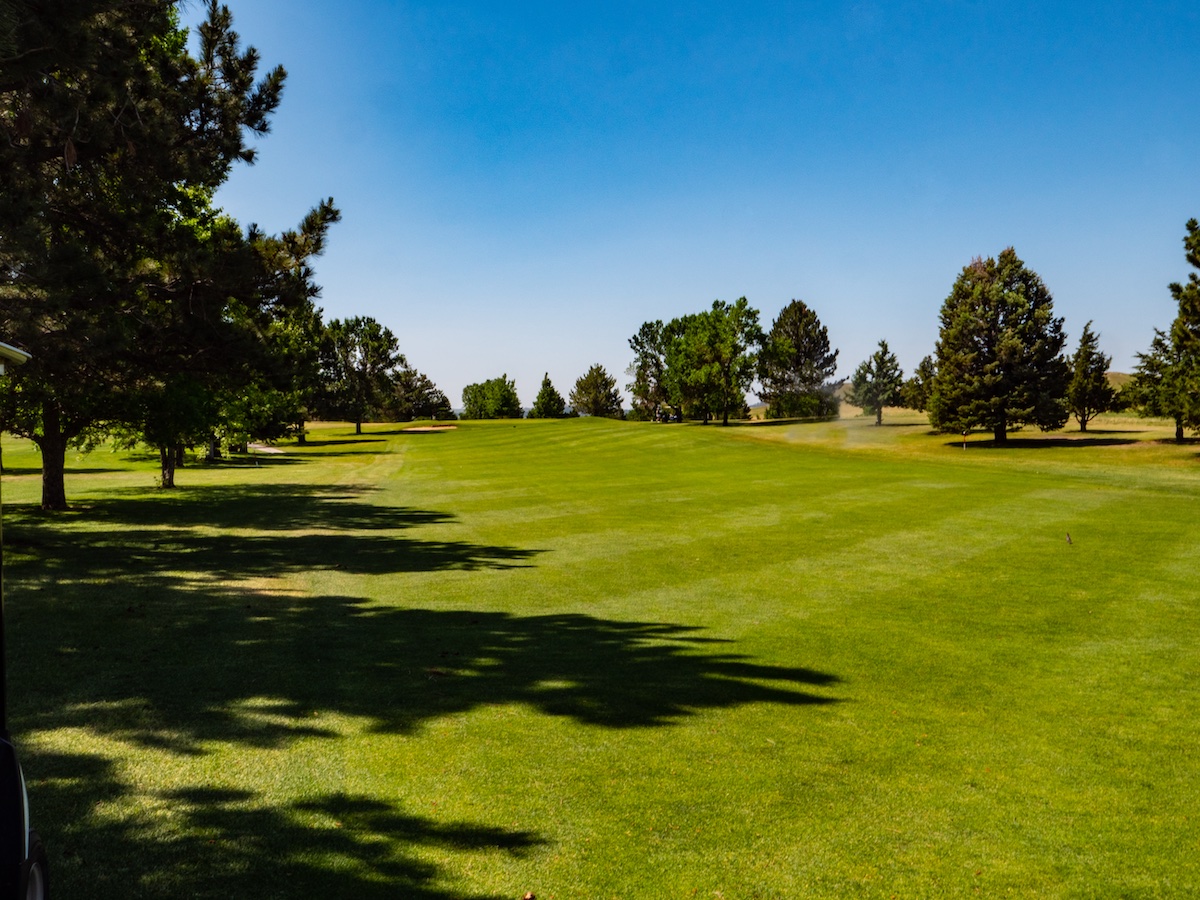
Hole #5
Hole 5 is a 370 yard par 4. Hit it long with a shot over the trees or hit it to the bend for a 150 yard approach shot to an elevated green.

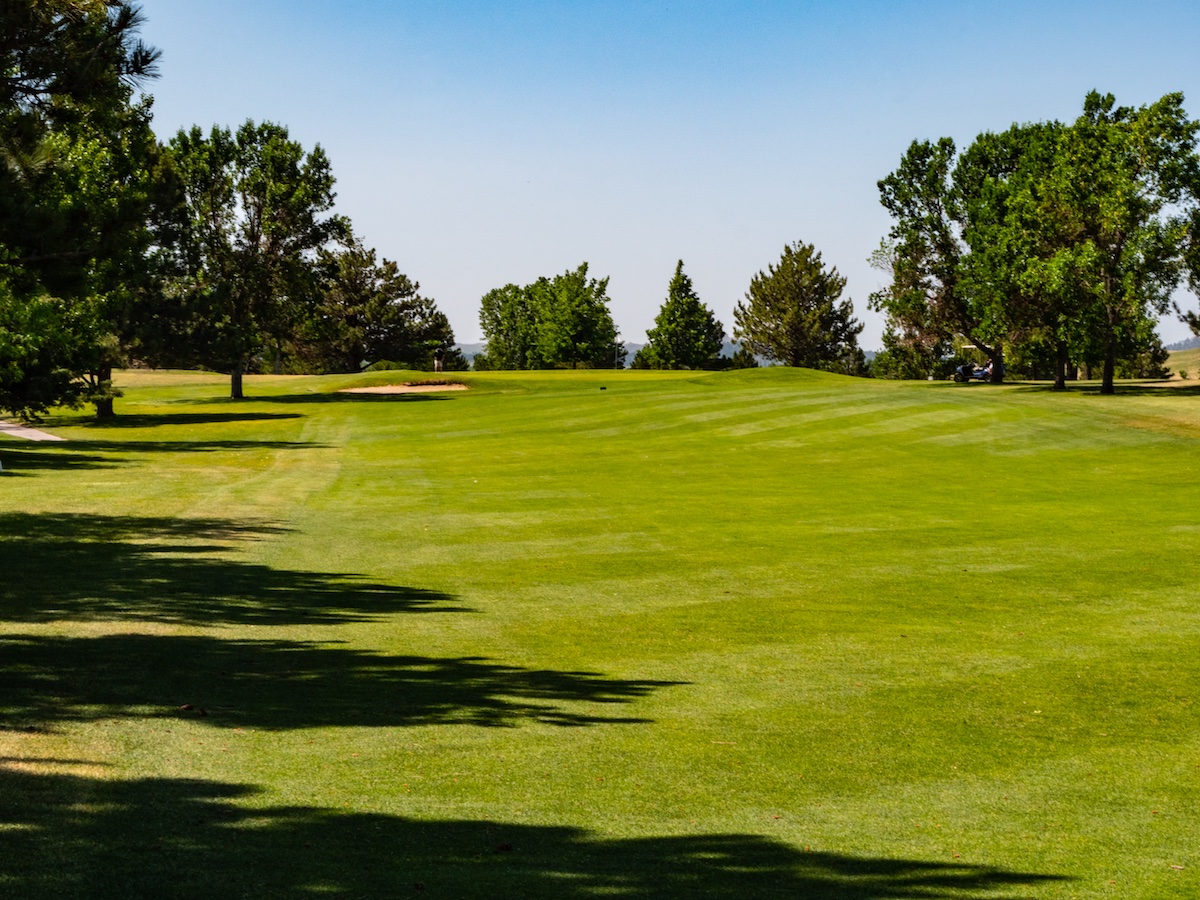
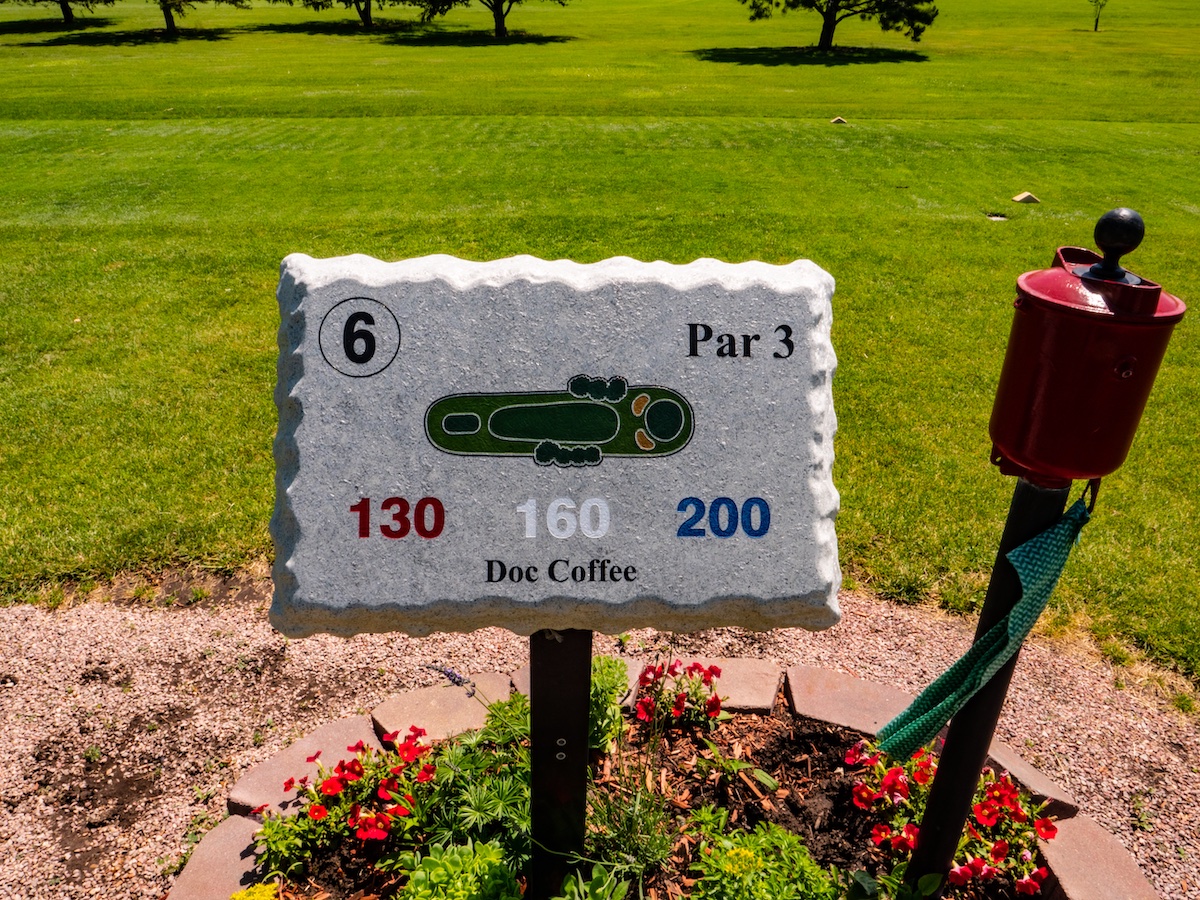
Hole #6
Hole 6 is a 160 yard par 3. Depending on the tee placement this hole can reach up to 200 yards. This green is guarded by green side bunkers.
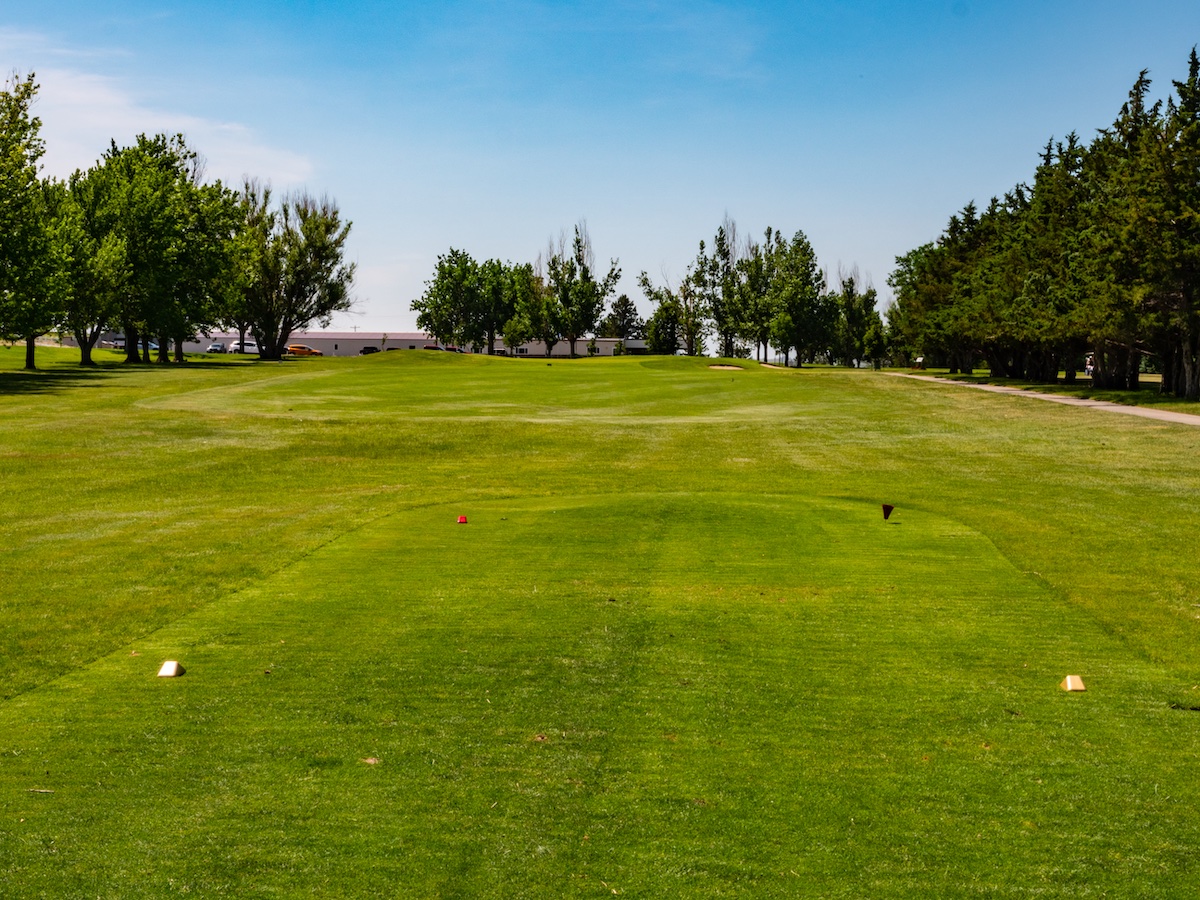
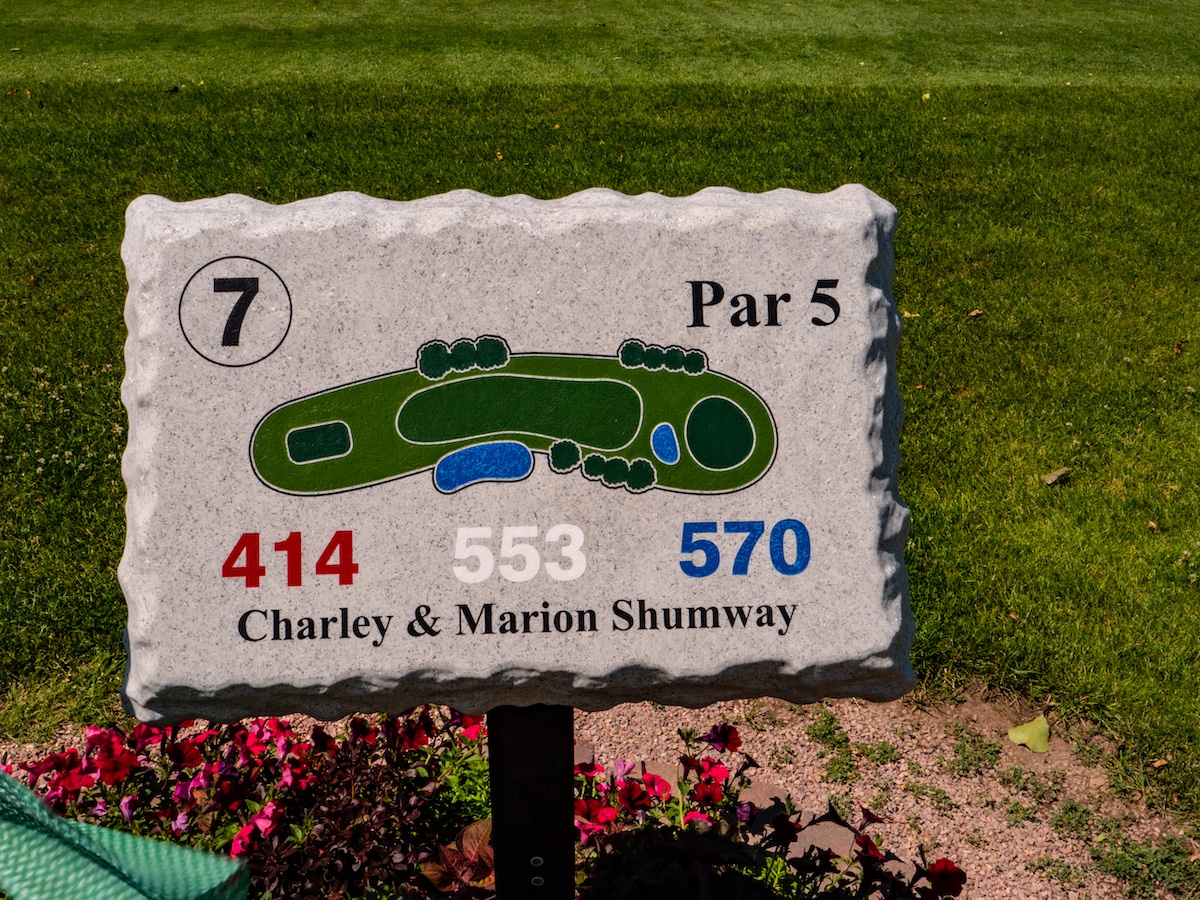
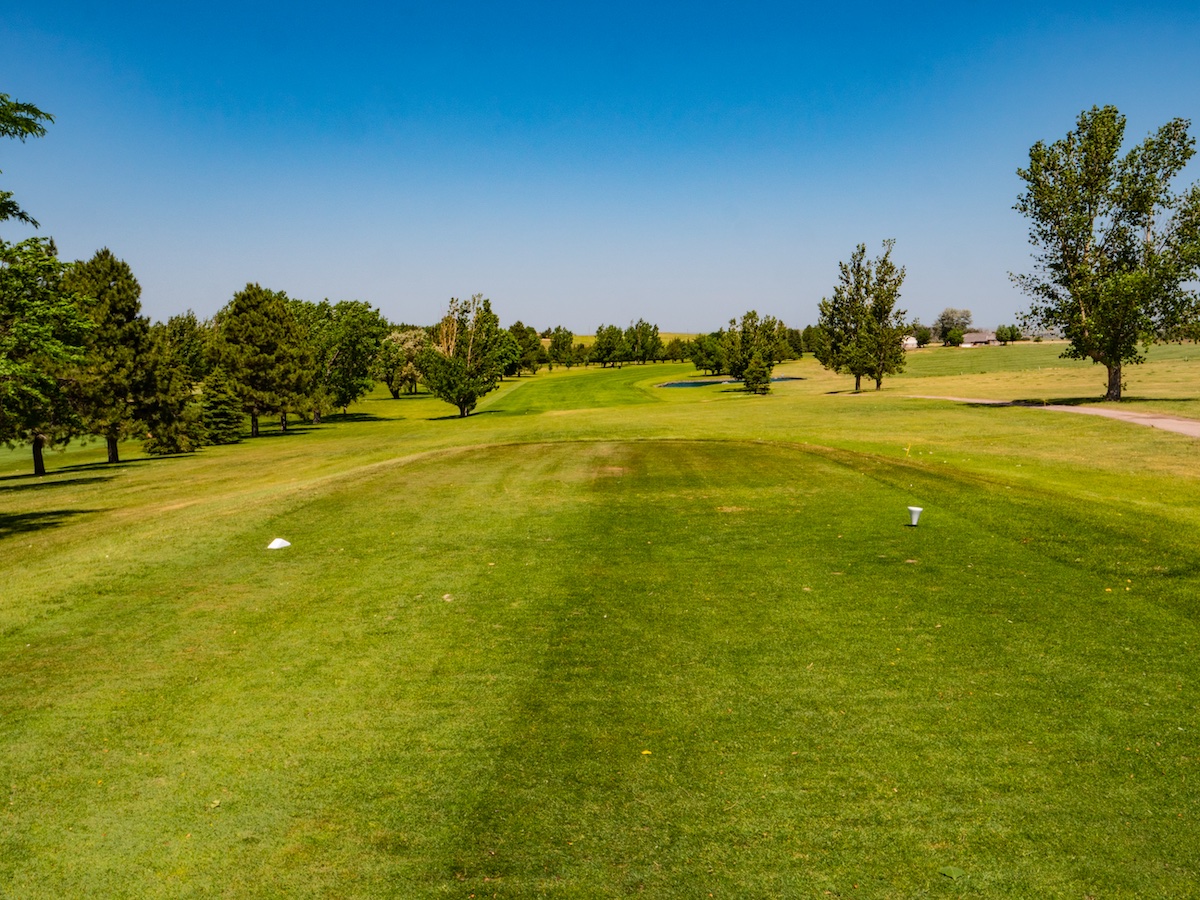
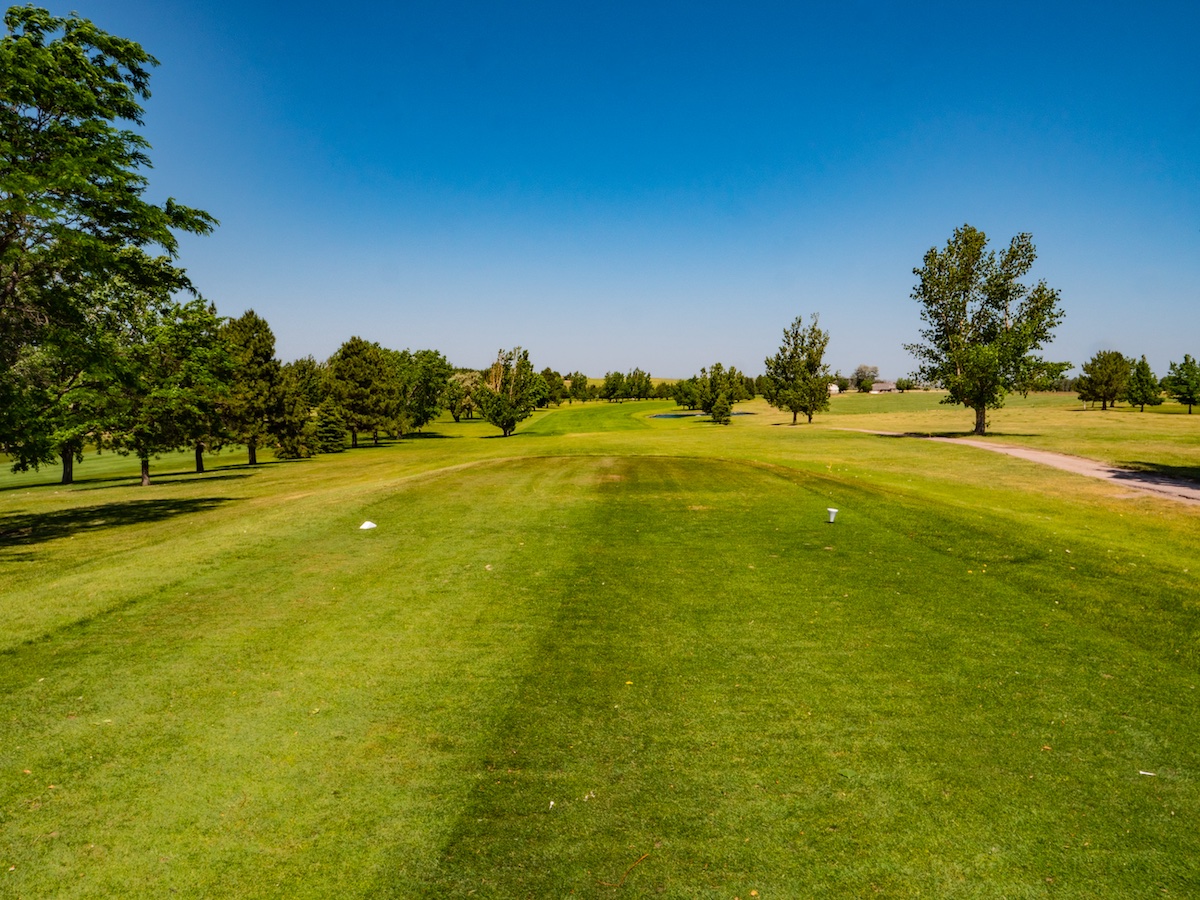
Hole #7
Hole 7 is a 553 yard par 5. Avoid the first water hazard by placing your tee shot in the fairway. Go for the green or lay-up but be careful of a hidden water hazard 50 yards from the green.
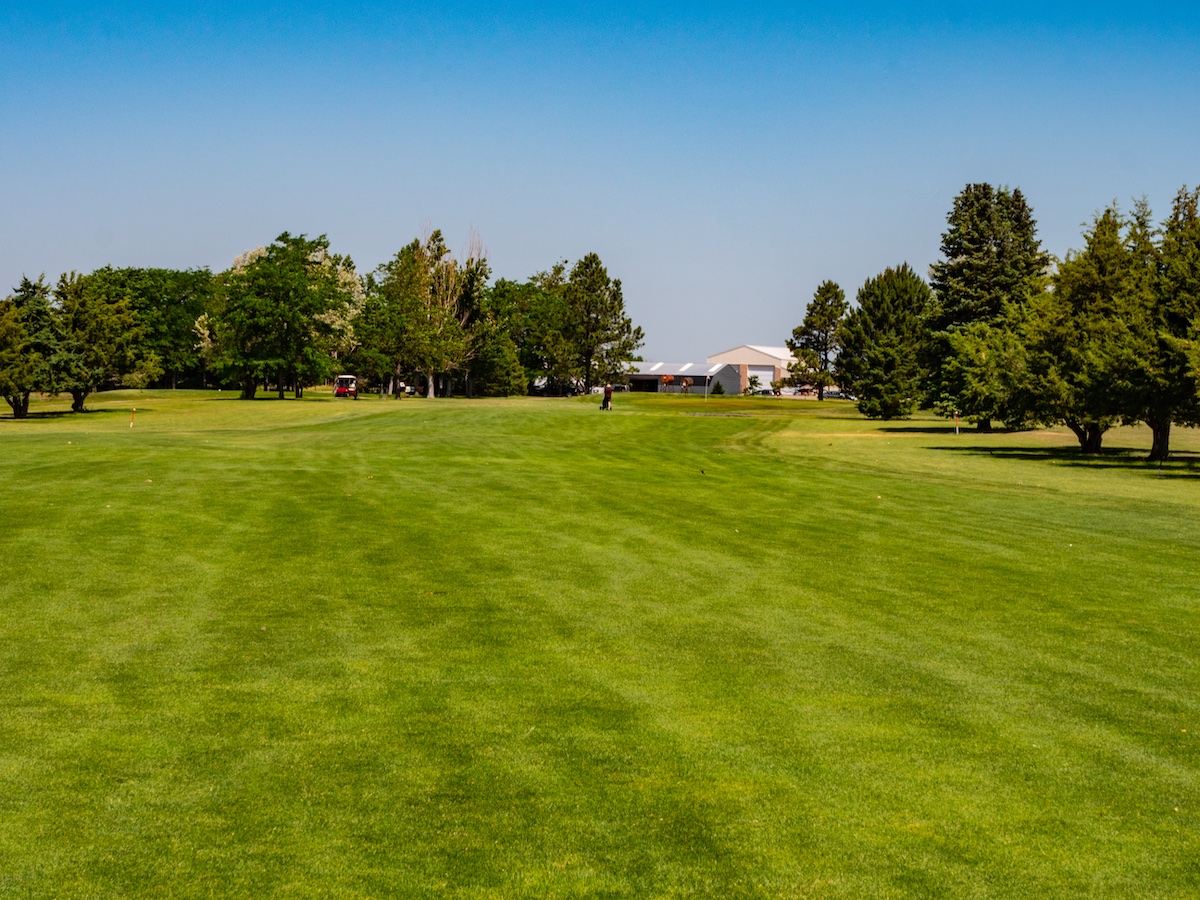
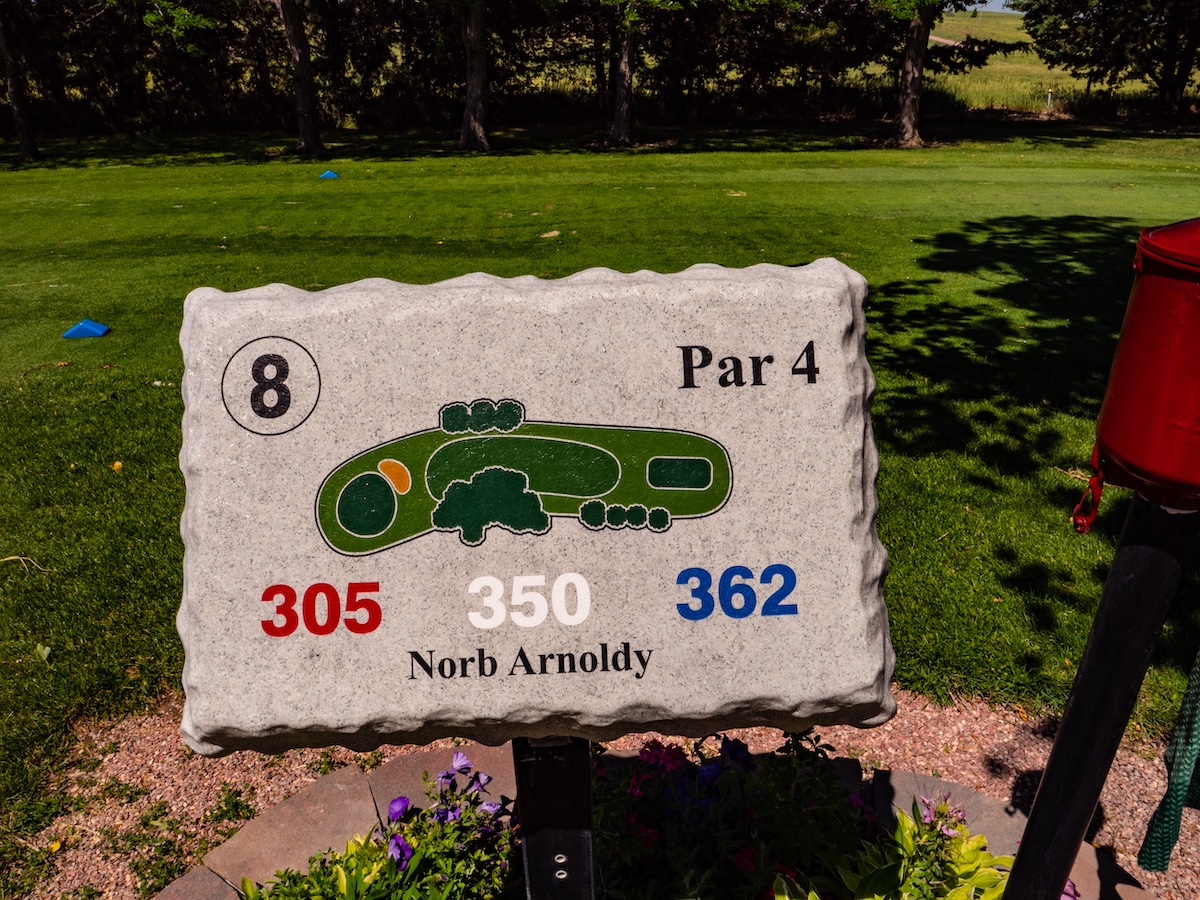
Hole #8
Hole 8 is a 350 yard par 4 that features the signature cotton wood tree. Keep your drive to the right side of the fairway to avoid being blocked by this huge cotton wood tree.
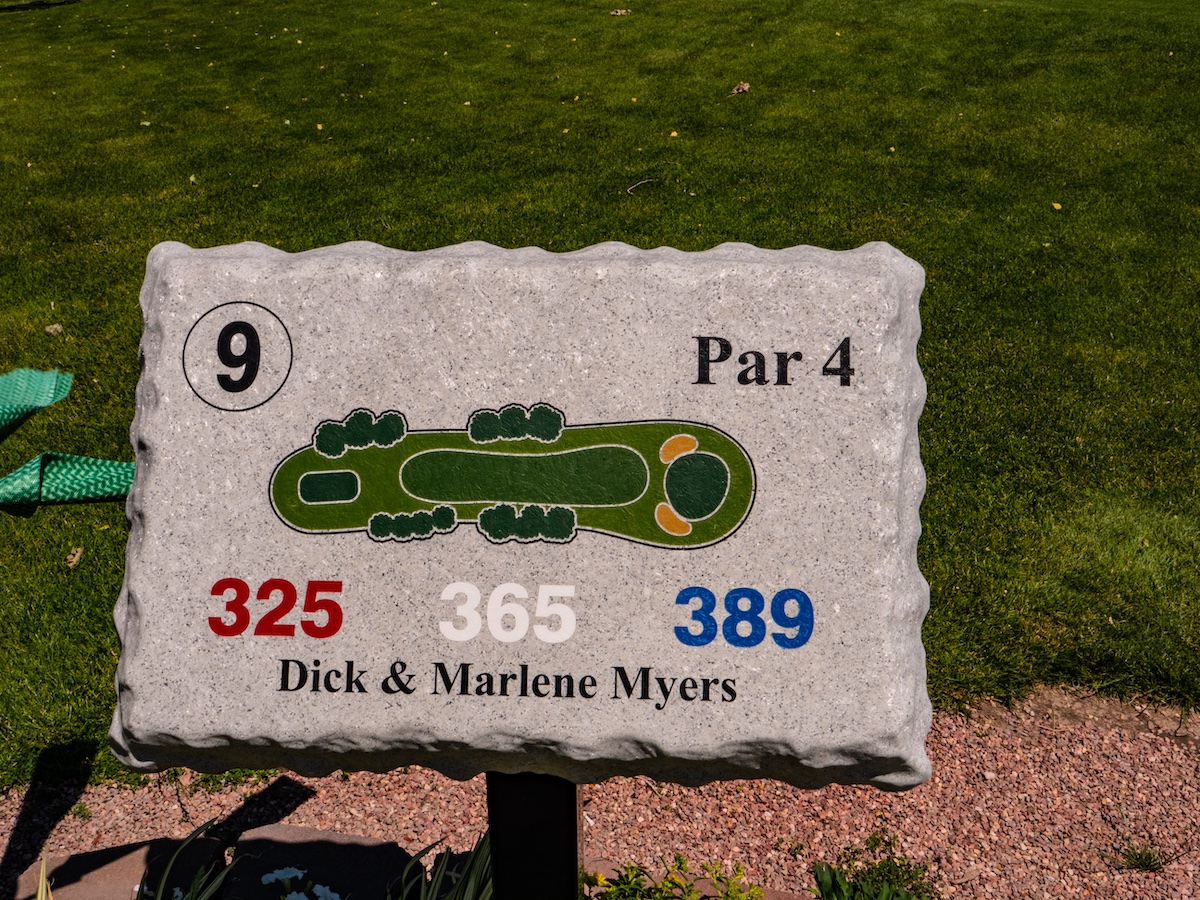
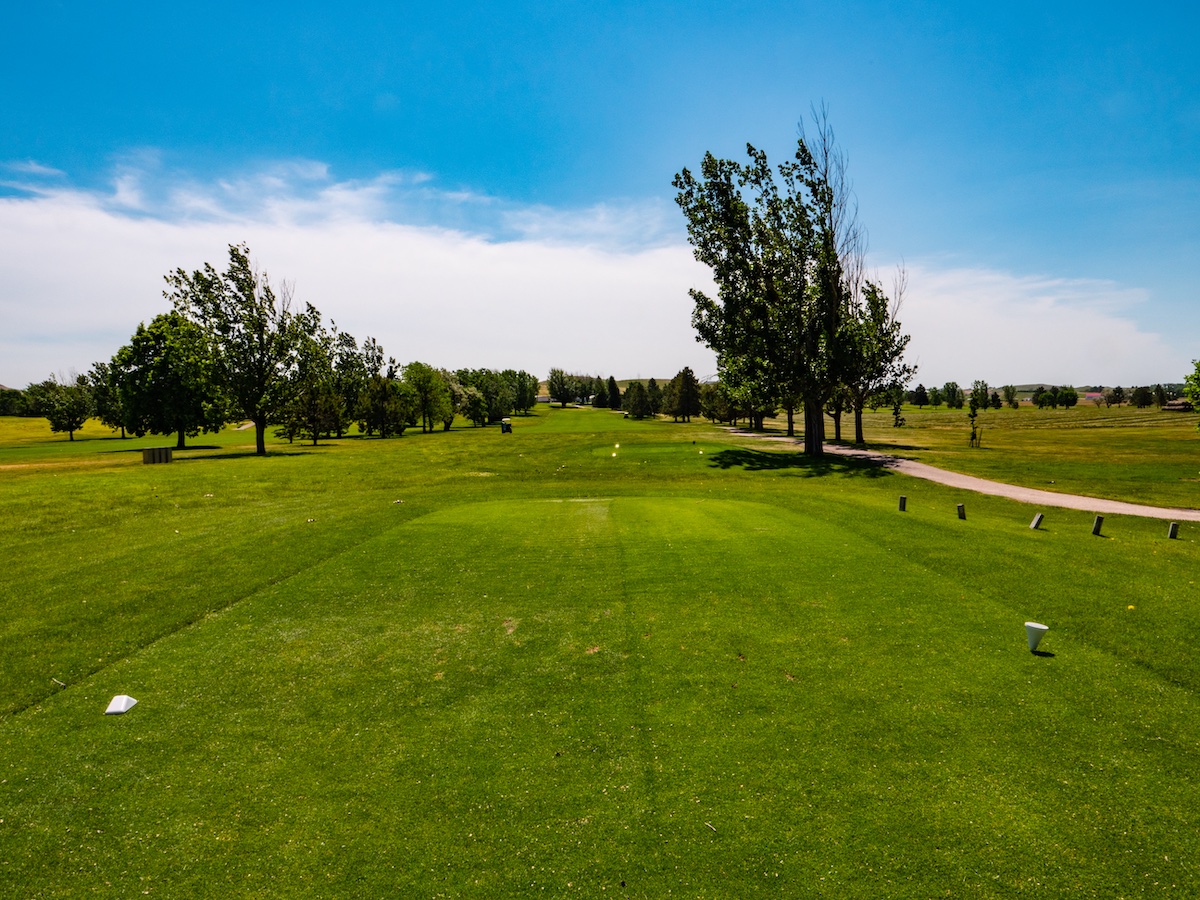
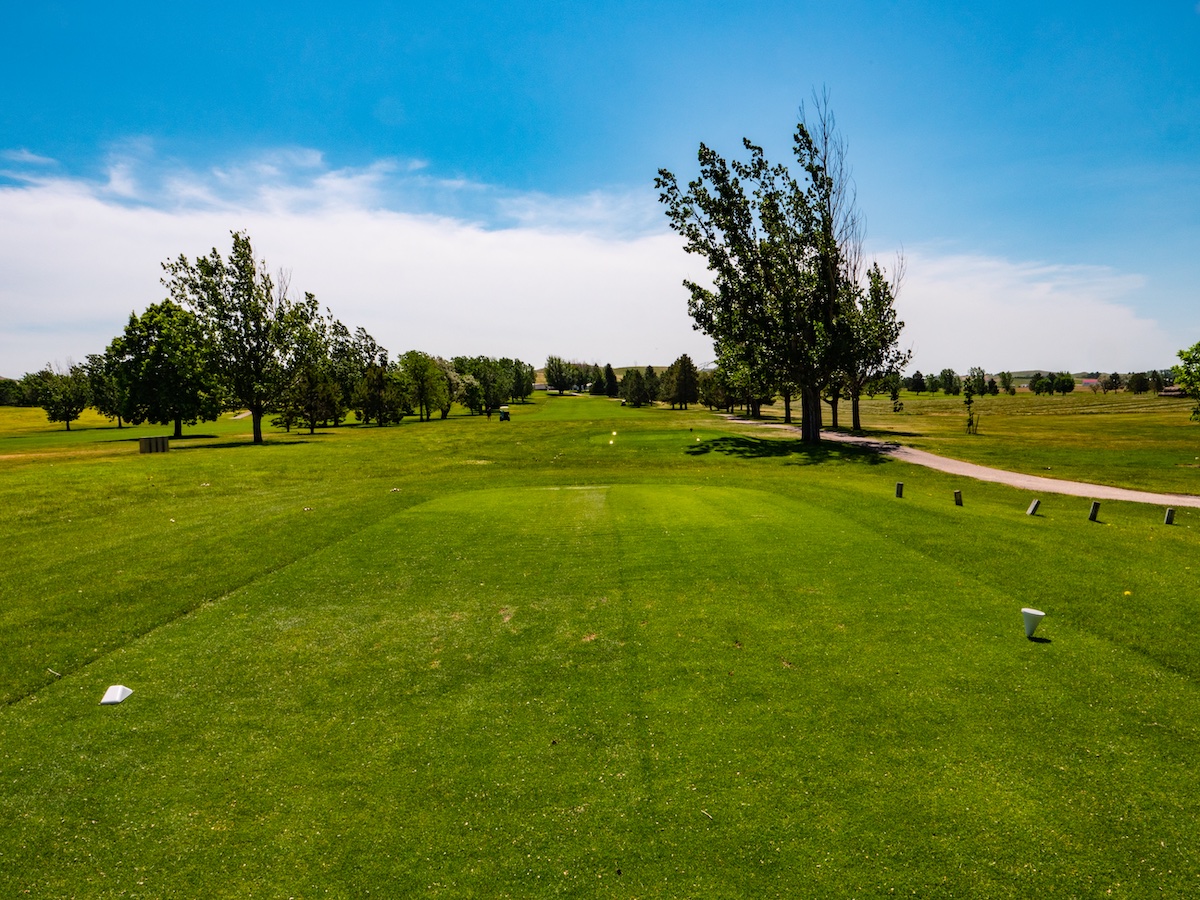
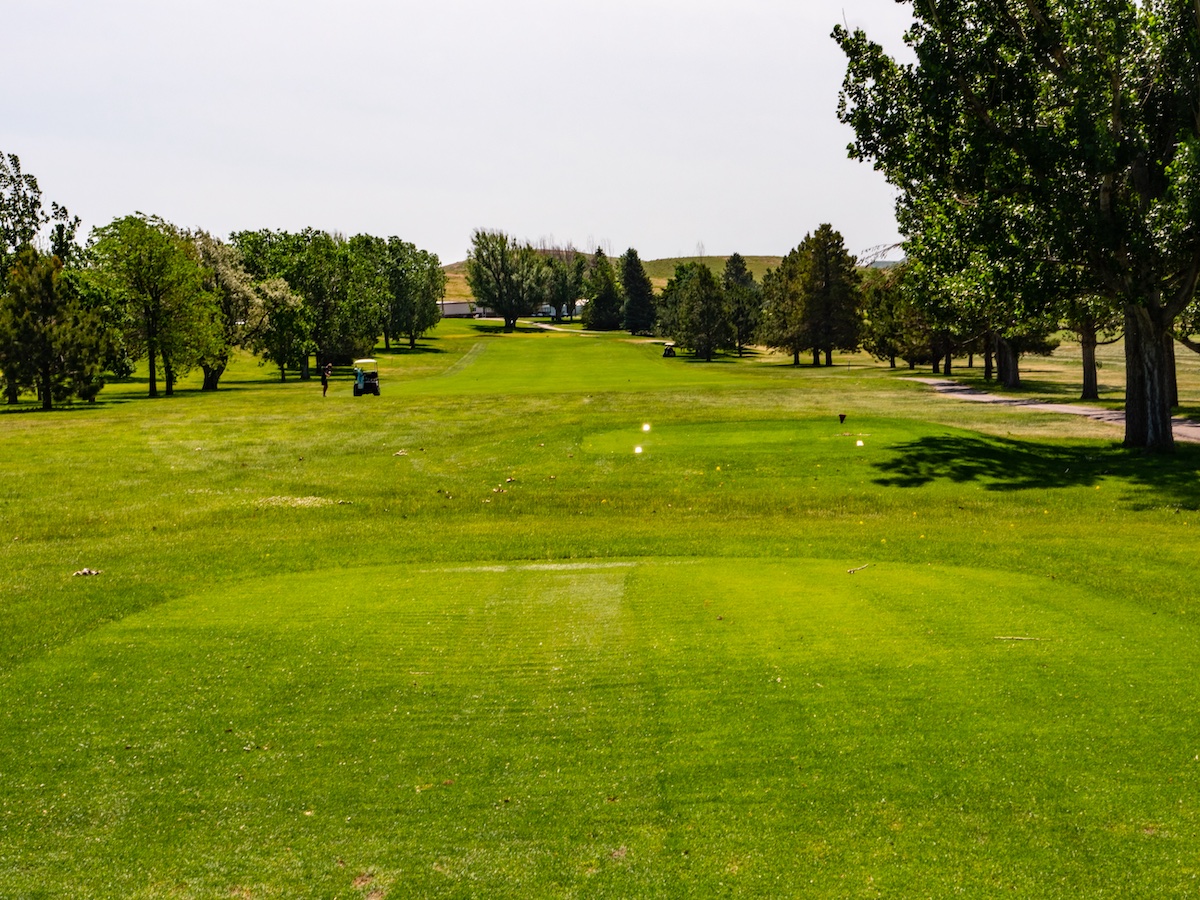
Hole #9
Hole 9 is a 365 yard uphill par 4. Keep your drive straight to avoid out of bounds on the right. Your approach will be to another elevated green with green side bunkers.